
Google Forms doesn't have a signature field. There's no built-in option for collecting handwritten or electronic signatures from respondents. To add one, you'll need to install a third-party add-on called Signature from the Google Workspace Marketplace, create a separate spreadsheet, adjust multiple settings, and share your form through a special link that bypasses Google Forms' normal sharing flow.
It works, technically. But the process is fragile, time-consuming, and confusing for the people signing your form. If you need signatures on forms regularly, there are better form builders that include a native signature field, including options with a free plan.
Here's how the Google Forms workaround works, where it breaks down, and what to use instead.
How to add a signature in Google Forms with the Signature add-on
The Signature add-on is free for up to three signature fields. Here's the process, which takes roughly 10–15 minutes if everything goes smoothly.
Step 1. Create your form and install the add-on
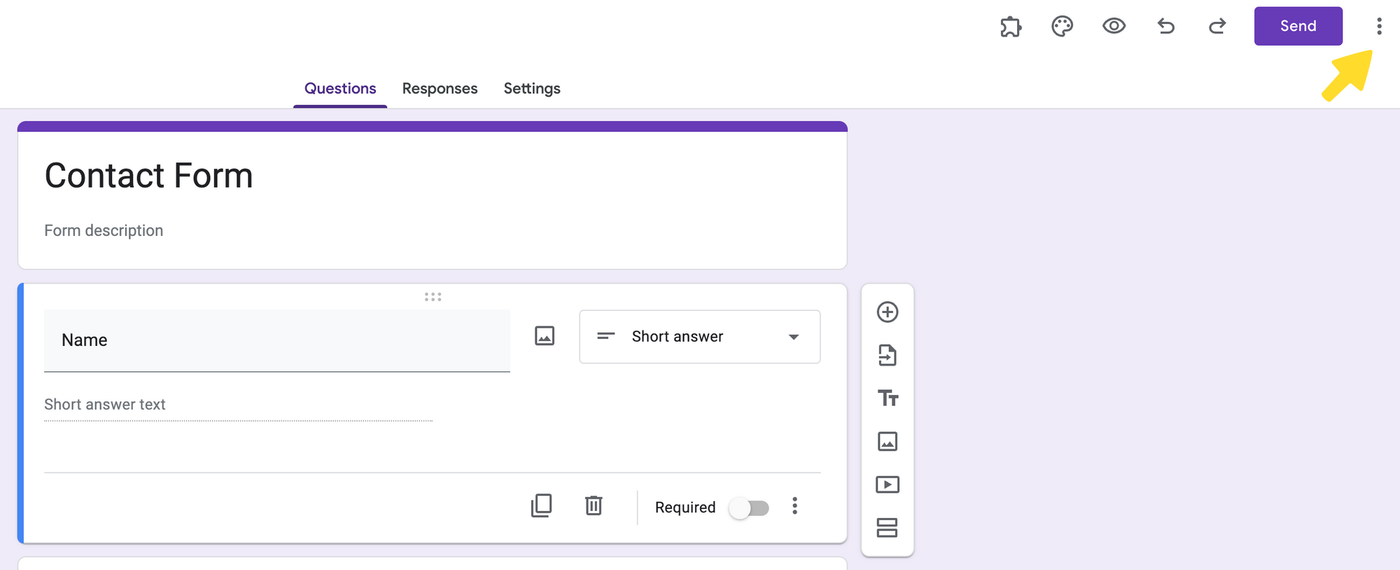
Open Google Forms and create a new form or open an existing one. Click the three-dot menu in the top right corner, select Add-ons, and search for Signature in the Google Workspace Marketplace.
Install it and follow the permission prompts. You'll need to grant Signature access to your Google Drive documents and Google Sheets spreadsheets.
Step 2. Create a response spreadsheet
The Signature add-on requires a linked Google Sheet to function. Go to the Responses tab in your form editor and click the green spreadsheet icon to create one. If you skip this step, Signature will throw an error.
Step 3. Disable sign-in requirements
Navigate to Settings > Responses and toggle off both options under Require users to sign in. The Signature add-on doesn't work reliably with sign-in restrictions enabled, even if you want to limit responses to one per person.
Step 4. Launch Signature and create the field
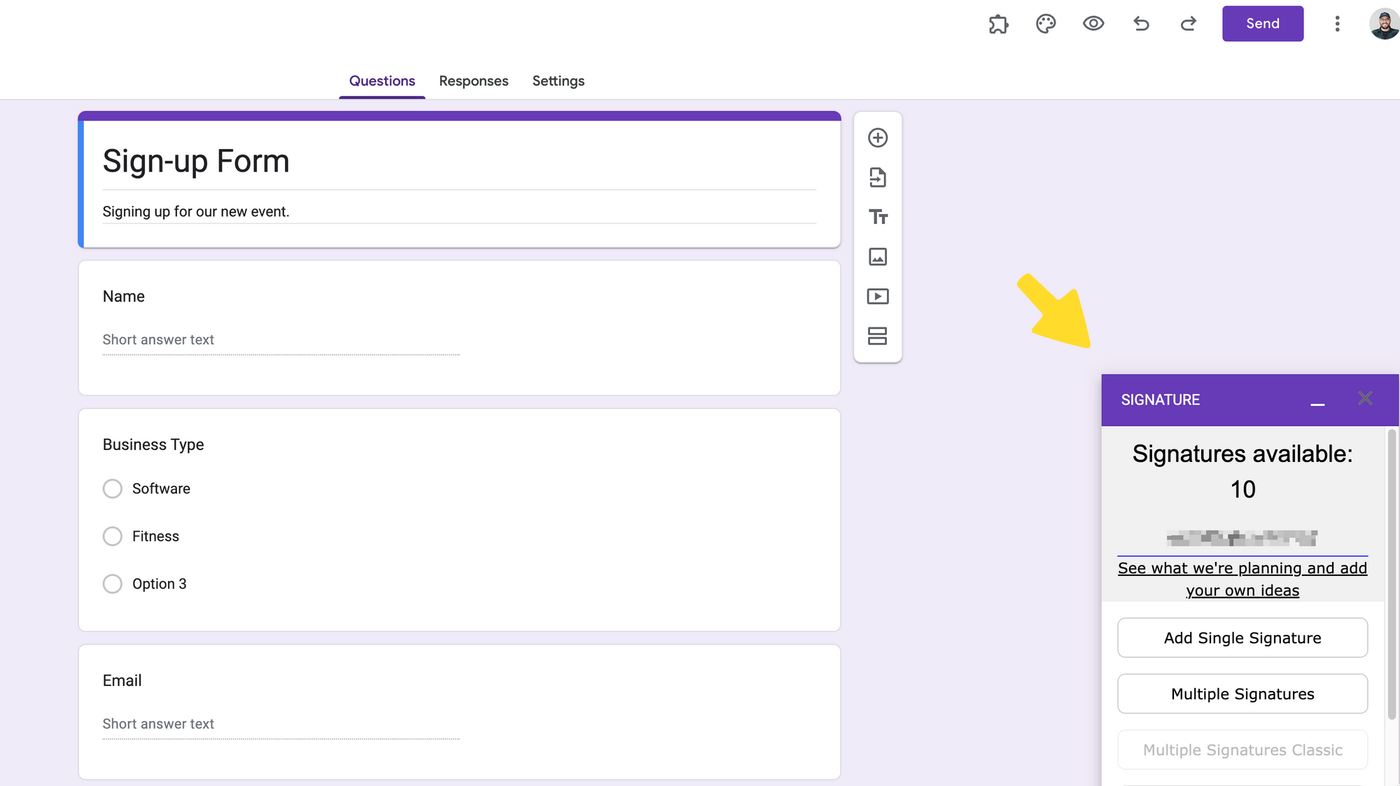
Click the puzzle piece icon at the top of the form editor, then select Signature > Multiple Signatures (new). Follow the login prompts. Signature will open as a small pop-up in the bottom left corner of your screen.
Make sure to uncheck Protect view links for received signatures. Despite the name, this setting makes viewing collected signatures nearly impossible due to the add-on's bugs.
Step 5. Test and share via the special link
Click Test link in the Signature pop-up to preview your form. If the setup worked, you'll see a green Show Signature Page button.
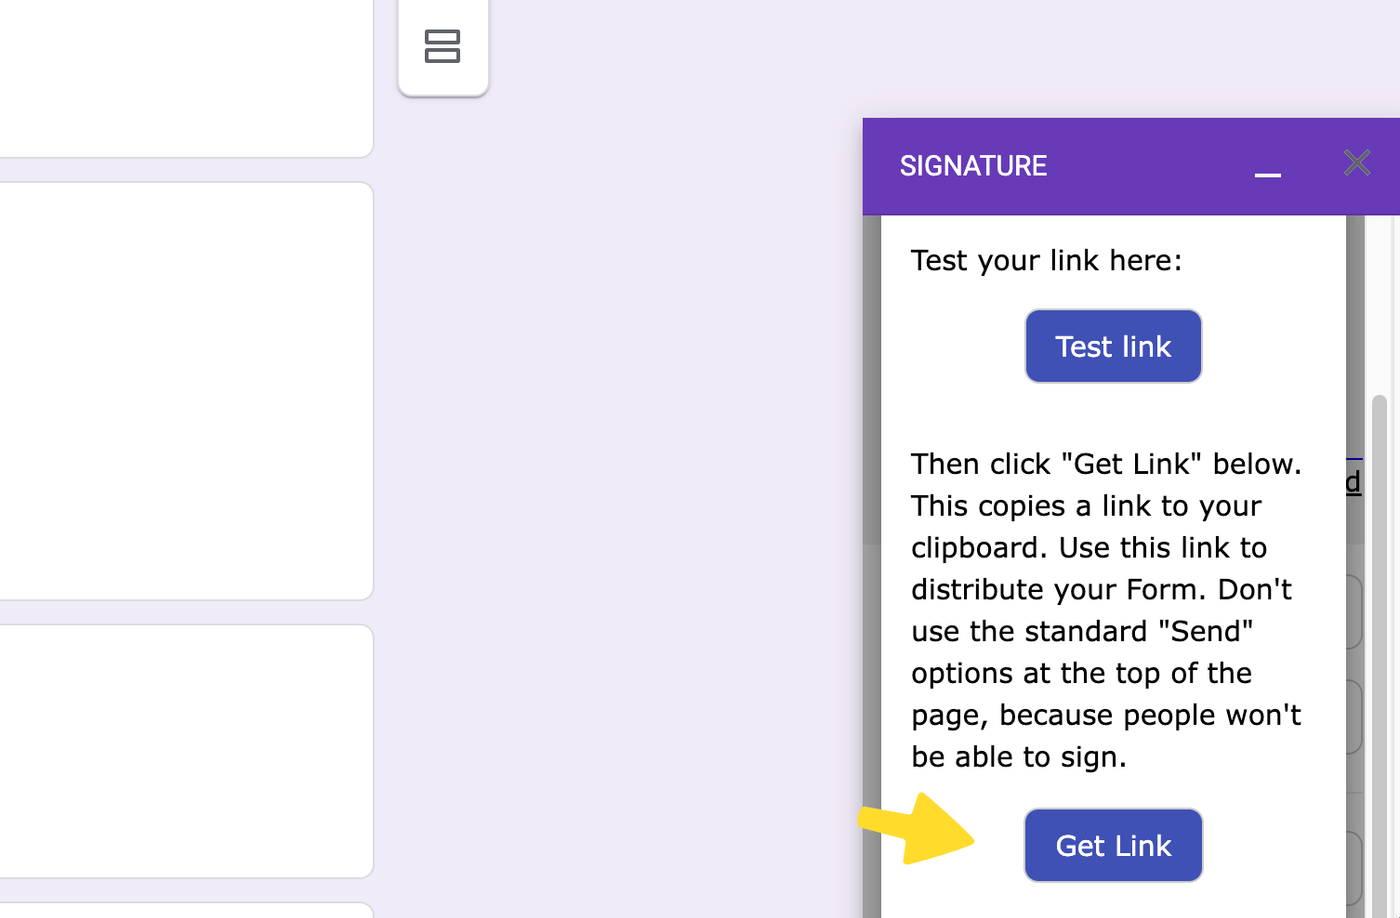
Here's where things get awkward: you cannot share this form the normal way. You must use the Get Link button inside the Signature pop-up. If you share the standard Google Forms link, the signature field won't appear for respondents.
Respondents will also have a confusing experience. They'll be redirected outside the form to a separate page to draw their signature, then need to copy a link and paste it back into the form. On mobile, this process is even more frustrating.
If something breaks
You can't edit signature field settings after creating them. If something isn't working, you'll need to delete the field entirely and start over from Step 4. The free version of the add-on only allows three signature fields total, so you have limited attempts to get it right.
Retrace the steps above. Common issues: sharing the wrong link, leaving sign-in restrictions enabled, or forgetting to uncheck the protected view links setting.
5 reasons the Signature add-on falls short
The process above works in controlled conditions. In practice, these are the problems you'll run into.
1. Setup takes 10–15 minutes per form
Installing the add-on, granting permissions, creating a response spreadsheet, disabling sign-in requirements, configuring the signature field, and testing the special link. That's a lot of steps for a single form field.
2. Respondents sign outside your form
People filling out your form get redirected to a separate page to draw their signature, then have to copy a link back into Google Forms. It's confusing, and on mobile it's worse. Anyone unfamiliar with the process is likely to abandon the form.
3. Settings can't be changed after creation
Made a mistake? You'll need to delete the signature field and recreate it from scratch. With only three free fields available, that's a problem.
4. Signatures aren't legally binding
The Electronic Transactions Act of 1999 established that digital signatures can carry the same legal weight as handwritten ones, but only when collected through tools that meet specific compliance standards. A third-party Google Forms add-on with no audit trail, no identity verification, and no encryption doesn't meet that bar. For anything where the signature carries legal weight, you need a purpose-built tool. Check the e-signature laws in your area before relying on any signature method.
5. The add-on is fragile and poorly maintained
The Signature add-on is a third-party tool, not a Google product. It breaks under specific conditions (sign-in restrictions, certain browser configurations, mobile devices), and there's no guaranteed support or update schedule.
How to add signatures for free with Paperform
Paperform is an all-in-one form builder for small businesses that combines design flexibility, payments, scheduling, and automation in a single tool. It includes a native signature field on every plan, including the free plan. No add-ons, no spreadsheet workarounds, no special sharing links.
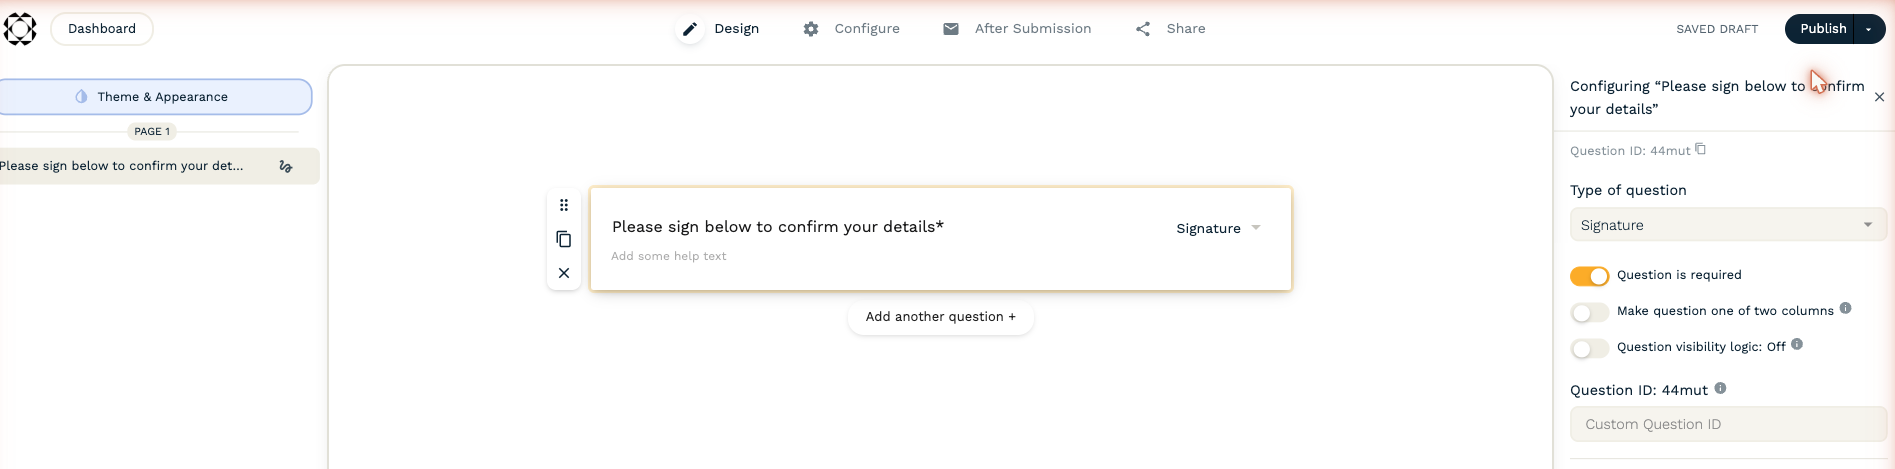
To add a signature field: click anywhere in your form and type /signature, or select the Add questions icon and choose Signature from the dropdown. That's it.
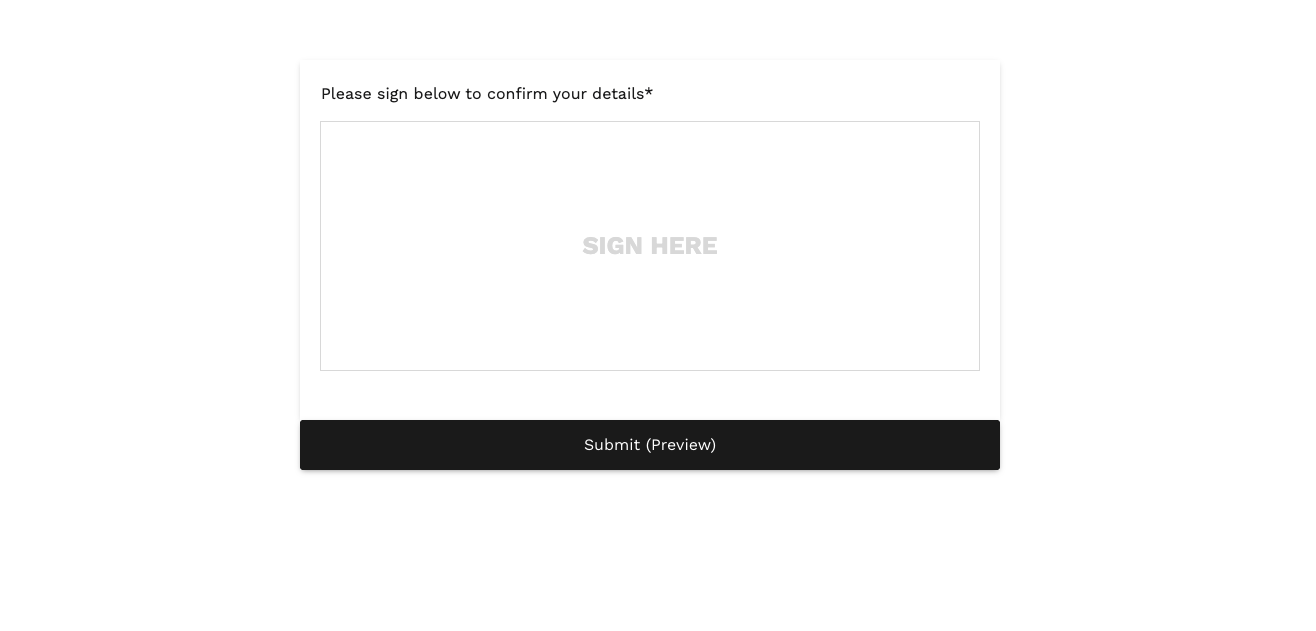
Respondents draw their signature directly inside the form using their mouse or touchscreen. No redirects, no link copying, no separate pages. The entire process happens within the form, on any device.
Here's how the two approaches compare:
| Google Forms + Signature add-on | Paperform (free plan) | |
|---|---|---|
| Native signature field | No (requires third-party add-on) | Yes |
| Setup time | 10–15 minutes | Under 30 seconds |
| Signs inside the form | No (redirects to external page) | Yes |
| Mobile-friendly signing | Poor (tab-switching required) | Full touchscreen support |
| Edit after creation | No (must delete and recreate) | Yes (change settings anytime) |
| Legally compliant | No audit trail or verification | TLS 1.2 SSL, encrypted at rest |
| Sharing method | Must use special add-on link | Standard link, embed, or social share |
| Price | Free (3 fields) / paid for more | Free plan (unlimited forms, 30 submissions/month) |
What else does Paperform's free plan include
Along with the signature field:
- Conditional logic for questions, content, and pages, so you can show signature fields only when relevant
- Payment processing through Stripe, PayPal, Square, Braintree, and Google Pay (5 payment submissions/month)
- 2,000+ integrations through native connections, Zapier, and Make, so signed form data flows into Google Sheets, HubSpot, Slack, or wherever you need it
- Answer piping to personalise form content based on previous responses
- Full design control with images, GIFs, and videos from Unsplash and Giphy built in
- Guided mode for a one-question-at-a-time experience
All submissions are secured using TLS 1.2 SSL from the respondent's browser through to Paperform's servers, and encrypted at rest.
When you need more than a signature on a form
If your use case involves contracts, NDAs, rental agreements, or any document where signatures carry legal weight, a form builder isn't the right tool. You need a dedicated e-signature platform with compliance features, audit trails, and document management.
Papersign is Paperform's dedicated e-signature product, built for exactly this. It complies with key e-sign legislation in the US (ESIGN Act), UK, Europe (eIDAS), and Australia, and streamlines the full signing workflow: create a document, send it for signature, track progress, and store the signed version.
If you're collecting signatures on forms (time-off requests, RSVPs, intake forms, consent forms), Paperform's signature field handles it. If you're sending contracts or legal documents for signing, Papersign is the better fit.
Frequently asked questions
Does Google Forms have a built-in signature field?
No. Google Forms does not include a native signature field. The only way to collect signatures through Google Forms is by installing the third-party Signature add-on from the Google Workspace Marketplace, which requires a multi-step setup process and has significant limitations.
Are signatures collected through Google Forms legally binding?
Generally, no. The Signature add-on for Google Forms doesn't provide an audit trail, identity verification, or the encryption standards required for legally binding electronic signatures in most jurisdictions. For legally binding signatures, use a dedicated e-signature tool that complies with the ESIGN Act (US), eIDAS (EU), or equivalent legislation in your country.
What is the best free form builder with a signature field?
Paperform offers a native signature field on its free plan (unlimited forms, 30 submissions/month). Respondents sign directly inside the form on any device, with no add-ons or redirects required. For a full comparison of free form builders and their signature capabilities, see our best free form builders breakdown.
Can respondents sign on their phone in Google Forms?
The mobile experience with the Signature add-on is poor. Respondents are redirected from the form to a separate signing page, need to draw their signature, copy a link, and paste it back into the form. This tab-switching process is difficult on any device but particularly frustrating on mobile.
What's the difference between a signature field on a form and an e-signature tool?
A signature field on a form (like Paperform's) collects a drawn signature as part of a form submission. It's appropriate for internal approvals, consent forms, RSVPs, and similar use cases. A dedicated e-signature tool (like Papersign) adds compliance features, audit trails, multi-party signing workflows, and document management, and is designed for contracts and legally binding agreements.
How many signatures can I collect for free on Google Forms?
The free version of the Signature add-on allows up to three signature fields across all your forms. After that, you'll need a paid version of the add-on. Paperform's free plan has no limit on the number of signature fields per form, with a cap of 30 total form submissions per month.
Still weighing up Google Forms against other options? Read the full Paperform vs Google Forms comparison to see how they differ across design, features, pricing, and integrations.