A website without a contact form is like a burger without a bun: it just doesn’t make sense. If you’re running a business online, you need a way for customers to contact you.
A well-made online form is the best way to do it. There’s just one roadblock: HTML.
HTML (Hypertext Markup Language) is the language of the internet. It’s a standard code used to make most of the websites and apps online, and it’s a go-to for building contact and registration forms.
But like any language, you can’t learn HTML overnight. And while you don’t need to be a coding genius to create a basic contact form with HTML, you will need to learn the fundamentals. Which is… easier said than done. Not to worry. That’s why we've built a completely free HTML Form Creator that simplifies the process of crafting professional, responsive forms for any purpose.
If, however, you'd like to learn how to build an HTML form from scratch, then keep reading as we'll cover it all step by step.
TL;DR
Here's a brief version of how to create an HTML contact form:
- Create an HTML file and open it in a text editor. Inside the element, create a element with the and attributes set (see W3schools.) for details)
- Inside the element, create a element to group the form elements together. Add a for each field you want users to fill out—for a contact form, this is usually name, email address, and message.
- Within each , create an element with the
type,id,name, andplaceholderattributes set. Add asubmitbutton to the form. Finally, use CSS to style the form elements and make the form visually appealing. Here's an example code for a form with name, email, and message fields for you to use. - Alternatively, sign up for Paperform to build beautiful, smart forms without any need for code. Or if getting the form code is needed, feel free to use our Free HTML Form Creator to easily get an HTML code for your form, or our Free React Form Creator to get the code in React.
[CTA: Want to create a contact form with no-code? | Create free forms today. | Get started]
How to create an HTML contact form in six steps
In this post, we’ll walk you through how to make your very own contact form in HTML. We’ll give you step-by-step instructions, code to copy, and offer a much easier, more customisable alternative.
1. Choose an HTML editor
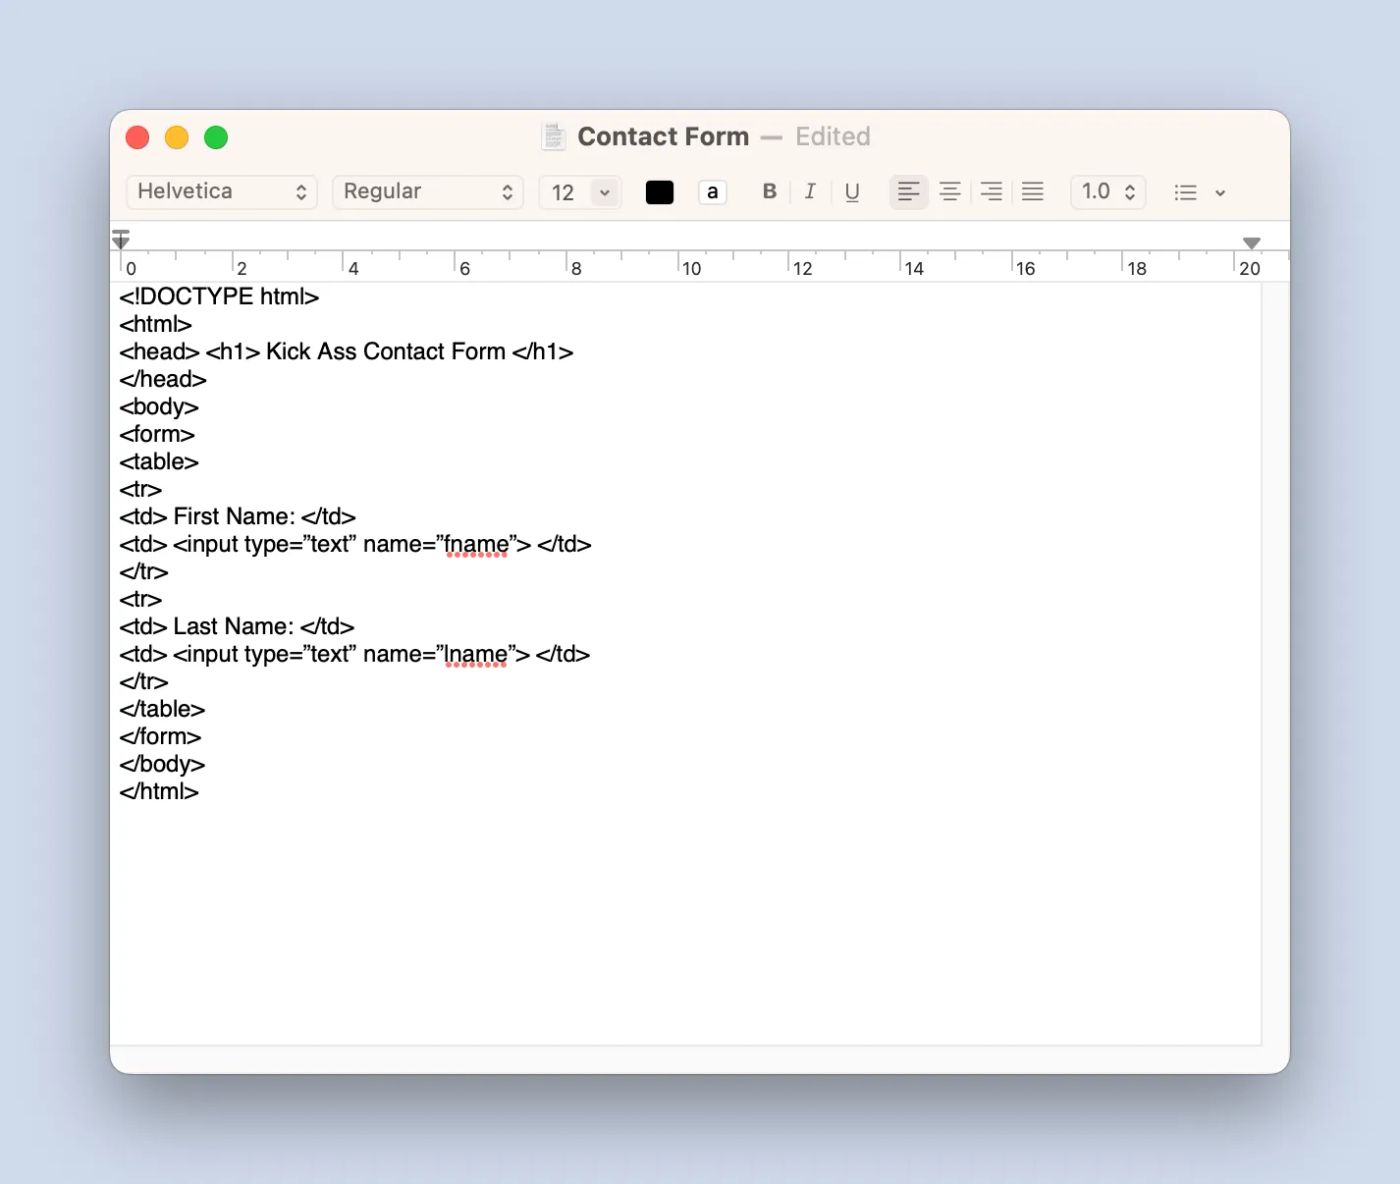 (Image Source: Paperform)
To create HTML code, you need a place to write it. That’s where an HTML text editor comes in. It converts the code you write into whatever you’re trying to make: in this case, a contact form.
When it comes to picking an app, there’s no wrong answer. Want something that you can use in your browser? Try Codepen. Barebones? Notepad++. A minimalistic UI and intuitive input field? Sublime Text all the way.
Most text editors offer a free trial so you can try out a few and see which one you like best. When picking your text editor, try to snag one with the following features.
1. Error detection: Automatically highlight syntax errors to make fixes easier.
2. Auto-completion: Suggests relevant HTML elements based on previous changes (saves you a bunch of time with long code).
3. Syntax highlights: Applies colours to different HTML tags based on certain categories to make it easier to read and sort your code.
4. Search and replace: Locate and overwrite all instances of a particular code rather than editing each individually.
There are tons of features available, but the above will be plenty for making a simple contact form. If you’re overwhelmed by the options, we recommend Sublime Text. It’s free and about as user-friendly as they come.
2. Create a new file with the. HTML extension
Once you’ve picked your text editor, you’re ready to start making your contact form. Open up a new file, name it, and save it with the .html extension.
Type into the text field to get started. This announces to the editor that you want to create HTML code. When you do, it should generate the following code for you.
<!DOCTYPE html>
<html>
<head>
      <title></title>
</head>
<body>

</body>
</html>
If it doesn’t, don’t worry. Just copy and paste the code above and you should be good to go.
3. Create a new file with the. PHP extension
This step might seem a little counterintuitive, but it takes two files to create a basic contact form in HTML. The one you made in the previous step, and the one you’re going to make now.
Open a new file and save it with the .php extension. This is an important distinction. This form will work with your .html form to manage the form submission process, and ensure the data you collect in your form ends up in the right place.
Without the PHP file, that potential customer won’t be able to contact you via your contact form. It’ll be like a car without an engine. The data isn't able to go anywhere. So even though it’s a hassle, it’s essential not to skip this step.
To access your form submissions (in this case, have them sent to your email) you need to connect the two files you’ve just made.
To do this, add the following code to your HTML form.
<form id="fcf-form-id" class="fcf-form-class" method="post" action="contact-form-process.php">
This will connect the two forms so that the changes you make in one will be reflected in the other.
4. Generate the PHP code to capture form data
Your forms are connected. Now it’s time to write some code that tells your form what to do when it gets a submission.
Copy and paste the below code into the .php file. All you need to do is add your email address, adjust the subject line, and write your custom message. We’ve marked where to do so in the code.
<?php
if (isset($_POST['Email'])) {

    // EDIT THE FOLLOWING TWO LINES:
    $email_to = "you@yourdomain.com";
    $email_subject = "New form submissions";

    function problem($error)
    {
        echo "We're sorry, but there were error(s) found with the form you submitted. ";
        echo "These errors appear below.<br><br>";
        echo $error . "<br><br>";
        echo "Please go back and fix these errors.<br><br>";
        die();
    }

    // validation expected data exists
    if (
        !isset($_POST['Name']) ||
        !isset($_POST['Email']) ||
        !isset($_POST['Message'])
    ) {
        problem('We're sorry, but there appears to be a problem with the form you submitted.');
    }

    $name = $_POST['Name']; // required
    $email = $_POST['Email']; // required
    $message = $_POST['Message']; // required

    $error_message = "";
    $email_exp = '/^[A-Za-z0-9._%-]+@[A-Za-z0-9.-]+\.[A-Za-z]{2,4}$/';

    if (!preg_match($email_exp, $email)) {
        $error_message .= 'The Email address you entered does not appear to be valid.<br>';
    }

    $string_exp = "/^[A-Za-z .'-]+$/";

    if (!preg_match($string_exp, $name)) {
        $error_message .= 'The Name you entered does not appear to be valid.<br>';
    }

    if (strlen($message) < 2) {
        $error_message .= 'The Message you entered do not appear to be valid.<br>';
    }

    if (strlen($error_message) > 0) {
        problem($error_message);
    }

    $email_message = "Form details below.\n\n";

    function clean_string($string)
    {
        $bad = array("content-type", "bcc:", "to:", "cc:", "href");
        return str_replace($bad, "", $string);
    }

    $email_message .= "Name: " . clean_string($name) . "\n";
    $email_message .= "Email: " . clean_string($email) . "\n";
    $email_message .= "Message: " . clean_string($message) . "\n";

    // create email headers
    $headers = 'From: ' . $email . "\r\n" .
        'Reply-To: ' . $email . "\r\n" .
        'X-Mailer: PHP/' . phpversion();
    @mail($email_to, $email_subject, $email_message, $headers);
?>

    <!-- INCLUDE YOUR SUCCESS MESSAGE BELOW -->

    Thanks for getting in touch. We'll get back to you soon.

<?php
}
?>
So what does that do?
Your PHP file enables you to capture data from your form fields (like names, email addresses, or open text responses) With this code in place, your form submissions will be sent to you as email messages.
We’ve included PHP code that, in technical terms, validates user inputs on the server side. Basically, it makes sure everything works the way you want it to. It also generates an error and confirmation messages you want to have sent when people submit your form.
[NEWSLETTER]
5. Create your HTML contact form
Prep work is over: now it’s time to create your contact form. Since coding one from scratch would be quite a chore, we’ve included a contact form template. Just copy the code directly into your editor of choice to get started.
<!DOCTYPE html>
<head>
    <title>Contact Form</title>
</head>
<body>
    <h3>Contact us</h3>
    <form id="fcf-form-id" class="fcf-form-class" method="post" action="contact-form-process.php">
            <label for="Name" class="fcf-label">Your name</label>
            <div class="fcf-input-group">
                <input type="text" id="Name" name="Name" class="fcf-form-control" required>
            </div>
        <div class="fcf-form-group">
            <label for="Email" class="fcf-label">Your email address</label>
            <div class="fcf-input-group">
                <input type="email" id="Email" name="Email" class="fcf-form-control" required>
            </div>
        <div class="fcf-form-group">
            <label for="Message" class="fcf-label">Your message</label>
            <div class="fcf-input-group">
                <textarea id="Message" name="Message" class="fcf-form-control" rows="6" maxlength="3000" required></textarea>
            </div>
        </div>
        <div class="fcf-form-group">
            <button type="submit" id="fcf-button" class="fcf-btn fcf-btn-primary fcf-btn-lg fcf-btn-block">Send</button>
        </div>
</body>
</html>
If you’re new to HTML, that probably looks like a heap of random letters and symbols. Fair enough. While you don’t need to be a pro to use code, it’s helpful to have a basic understanding in case you need to troubleshoot.
The “input” tag defines where users can enter data, while the “label” command represents a caption for an item in the user interface (like where it says ‘Your Name’ above an entry field). "H1" marks the heading, and "div" acts like a bookmark separating different segments of the code.
One of the most important parts is the "form action" linking to the PHP file. Without this to link the HTML with the PHP file, your form is just doing a good impression of a contact form. It'll look right, but it won't actually work.
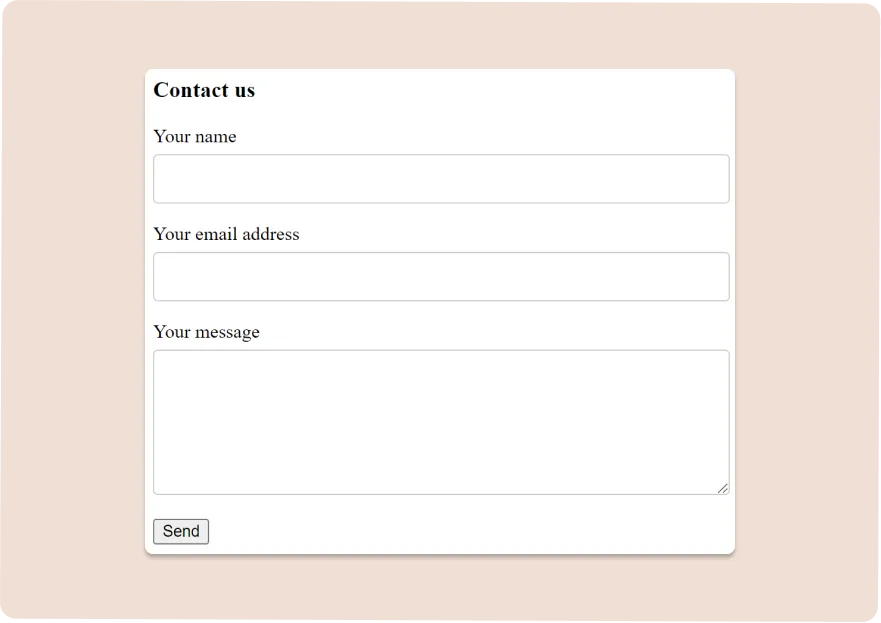
When you’ve entered the code it will generate a form that looks like this:
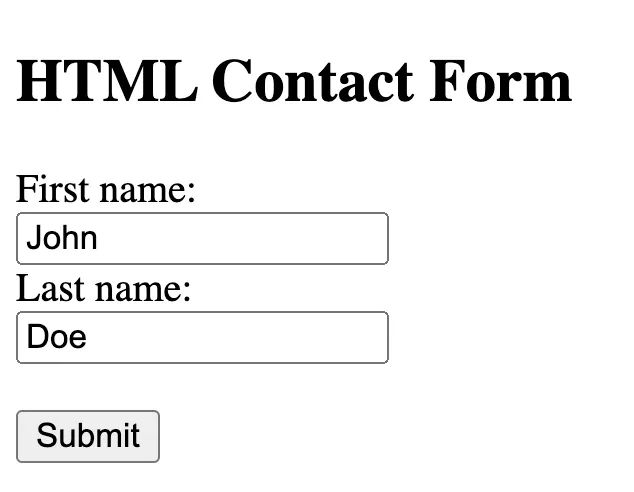 (Image Source: Paperform)
6. Add additional fields
The form above will do the trick, but if you want to collect any additional contact details, you’ll need to add a few fields.
Dropdown boxes are a popular option for things like selecting gender or sharing how you heard about the business. You can easily add one of your own with the following lines of code:
 <label for="contact reason">Contact Reason</label>
    <select id="contact reason" name="contact reason">
      <option value="sales">Sales</option>
      <option value="help">Help</option>
      <option value="billing">Billing</option>
    </select>
Checkboxes are another useful field. You can use one to allow respondents to opt-in to your email newsletter or choose whether or not they’d like to receive a confirmation email.
<input type="checkbox" id="newsletter" name="newsletter" value="newslettersignup">
  <label for="newsletter">Join our newsletter</label><br>
If you add both sections of code above, you’ll get a checkbox and a dropdown question. Your form should look like this.
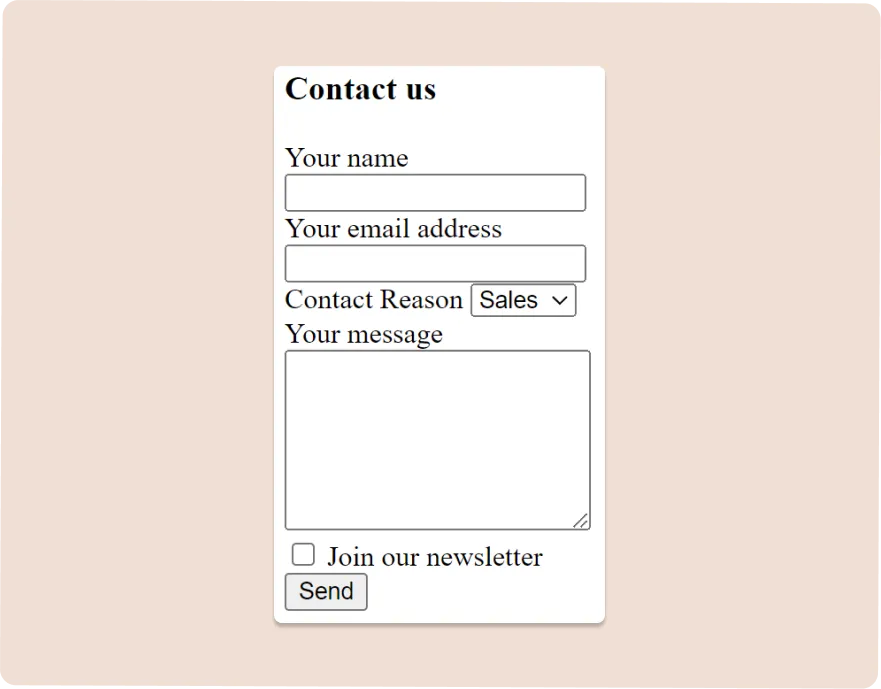
We’ll be honest: it’s not the most beautiful thing we’ve ever seen. But if you’re just looking for a way to collect basic contact details, it’ll do the trick.
Customising your HTML contact form
Beauty isn’t everything. But when it comes to making forms, it’s pretty darn important. An HTML form like this doesn’t exactly entice customers to fill it out. It looks dated, it doesn’t have any branding or design to speak of, and it’s clunky to fill out.
So how can you make your form less… ugly?
There are two main options: learn how to use CSS, or use a dedicated online form builder that can handle the heavy lifting for you. Option one requires a lot more work than option two.
When you use an online form builder like Paperform, you can create a beautiful, powerful form in minutes—without writing a line of code. You don’t need to learn HTML, CSS, or any other acronym to get access to our robust design features, conditional logic, automatic emails, and over 2,000 integrations.
We know we’re biased, but if you’re looking for an easy way to create a stylish contact form that works the way you want it to, Paperform really is the best solution.
If you’re set on using an HTML form, we’ll walk you through how to use CSS to style form elements. For beginners, you won’t be able to change much more than the fonts, colours, and layout of the form. But hey, a little goes a long way when you’re working with a form so...boring.
Fonts and colours
If you're building a contact form for your small business, you want it to match the aesthetic of the rest of your website. CSS can help you do that and make your form more readable and visually appealing.
There are a huge array of font and colour options to choose from—this list will walk you through them. You can adjust the background colour or the colour of your text. Keep in mind that styles will vary depending on the browser you use. Some fonts might look slightly different on Chrome compared to Safari.
Below we’ve added some CSS to change the font type, size, weight and colour.
.fcf-body {
    font-family: -apple-system, Arial, sans-serif;
    font-size: 1rem;
    font-weight: 400;
    color: #0000ff;
    text-align: left;
}
Here’s what it’ll look like with this code added.
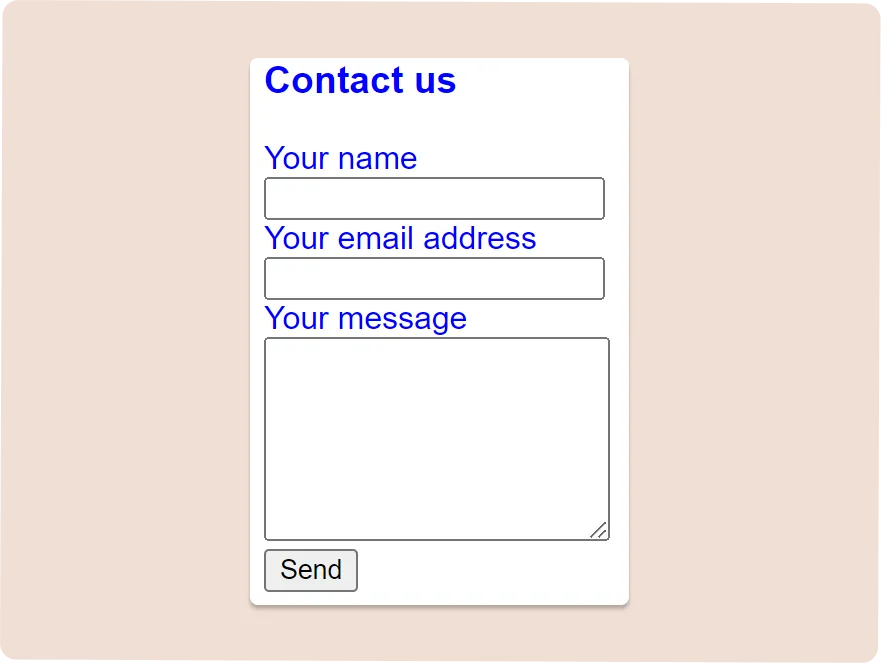
Padding and margins
Every HTML element is wrapped in its own invisible box. A way of visualizing this is through the “box model”, which is handy when learning to adjust the design and layout of HTML elements. It consists of margins, borders, padding and the content of your form.

Here’s a quick breakdown of the different elements:
- Content is where your text or images appear.
- Padding is the area around your content*.*
- Border is the visible border that wraps around the padding and content.
- Margins are the area outside your border.
By tweaking these elements you can change how your form looks on the page, from the size of the submit button to the width of the input fields. These changes might seem minor, but they can make a big difference in the readability of your form.
input[type=text], select, textarea {
  width: 100%;
  padding: 12px;
  border: 1px solid #ccc;
  border-radius: 4px;
  box-sizing: border-box;
  margin-top: 6px;
  margin-bottom: 16px;
  resize: vertical;
}

input[type=submit] {
  background-color: #5DADE2;
  color: white;
  padding: 12px 20px;
  border: none;
  border-radius: 4px;
}
If you use the code above, your form will end up looking something like this.
Challenges of making contact forms with HTML
With a bit of patience and some trial and error, you can make a basic contact form using HTML. But that doesn’t mean it’ll be easy. From the tedious set-up to the lack of customisation, there are more than a couple of roadblocks you’ll hit along the way.
1. Customisation is limited
Yes, you can use CSS to customise the basic look of your form. But if you want to add images, video, pagination, conditional logic, or any other advanced feature, you’re out of luck. Thorough customisation with CSS requires some serious time and effort. It just isn’t realistic for amateurs or business owners strapped for time.
Contact forms in particular benefit from a bit of style. After all, if it looks like it was made in the 90s, your clients are going to be less inclined to input their personal information. A bit of customisation helps customers trust (and recognize) your brand and increases the professionalism of your website.
2. Limited options for data storage and organisation
The code we’ve provided in this post (in the HTML file and the PHP file) will have your form responses sent to your email. But what do you do if you want those submissions automatically added to a Google Sheet? Or sent to your CRM to update customer profiles?
Transferring your data across platforms saves you time and energy, all while keeping that valuable customer information organised and accessible. Unfortunately, it’s incredibly difficult to do that in HTML as a beginner.
With the form outlined in this post, you could end up with hundreds of emails a day flooding into your inbox, which you’ll then need to sort through by hand.
3. Steep learning curve
Sure, you don’t need to be an expert to copy some code and make a basic HTML contact form. But you’ll need at least some background in coding to be able to do anything with it. HTML isn’t a language you can pick up in a day or even a few days.
It’s complex, finicky, and takes time to understand. And as anyone running a business or non-profit knows, free time doesn’t exactly grow on trees. Plus, there are no HTML form templates to speak of, so you have to face the terror of the blank page
4. Troubleshooting is tricky
Mistakes happen—especially when you’re learning a new skill. Unfortunately, making a mistake in HTML can be a lot harder to deal with than spilling your La Croix.
When your code doesn’t work, you’ll get an error message. From there, it’s up to you to figure out where the problem is and how to fix it. With no customer service team to reach out to and pages of text to sort through, troubleshooting is no easy process.
[CTA]
Make beautiful forms easily with Paperform
If you’re a small business owner, you know how precious (and fleeting) your free time is. Why spend it banging your head against the wall trying to learn HTML, all for a simple contact form?
Back away from the YouTube tutorials. There’s a better way. There are loads of online, no-code tools available to help you create powerful, beautiful online solutions.
Of course, we think Paperform is the best of the bunch. We may be biased, but we really do believe it. Paperform was designed to help people exactly like you: scrappy entrepreneurs who crave the freedom and creativity coding provides, without the hassle of learning to code.
And in the past five years, we’ve gotten pretty good at doing just that. You can use our intuitive, doc-style editor to create advanced contact forms, feedback forms, booking pages, ecommerce sites, quizzes, surveys… we could go on all day. If it collects data online, you can build it in Paperform.
Paperform solves all of the roadblocks you’ll hit when building a contact form in HTML.
- It’s entirely no-code and easy for anyone to use. (Yes, even the tech-averse).
- Our customisation options are robust. Paperform integrates with Unsplash, Giphy, and Adobe Creative Cloud so you can easily add your branding and personality to your form. Paperform has all the advanced features to make a form that respondents want to fill out, like conditional logic, scoring, custom success pages, and Calculations.
- We offer 24/7 live customer support, so there’s always someone to help you make that perfect contact form. Just click on that blue chat icon to find out for yourself. Someone will be with you shortly.
- Data organisation and analysis are a breeze. You can have automatic emails sent with each form submission, review your responses via our built-in analytics dashboard, or integrate with over 3,000 of your favourite apps to share data across platforms automatically.
To get started, open up a blank form or choose from one of our 650+ custom-made templates. Our doc-style editor makes tinkering a breeze. Just click anywhere to add one of our 25+ field types, paginate, add and edit images, and more.
Tweaking fonts, colours, backgrounds and more is easy to do from our customisation menu. With our digital suite of tools, you can create a contact form that matches your brand, automatically updates customer profiles in your CRM, and sends custom welcome emails, all in a few clicks.
Once you’re happy with your contact form, you can embed it in your website or host it as its own page with a unique URL. Regardless of how you share it, you can rest easy knowing your Paperform will look great on any device.
As a business owner, you have a lot on your plate. Your digital tools should help you simplify processes and save time. That’s exactly what we aim to do: automate more of your mundane busy work so you can get back to what matters.
Why not see for yourself? Try Paperform today for free, no credit card required. You’ll be swimming in new leads in no time.