AI is everywhere these days—and we’re not talking about the handsome robots from Ex Machina or M3gan. Artificial Intelligence is transforming the way we work, whether it’s helping you draft your emails or completing in-depth market research in seconds.
With more than 76% of businesses using AI tools for everyday business processes, it’s essential to learn how to work with this technology. That’s what this post is here to help you do. We've compiled 13 unique AI tools that can help you eliminate more of pesky busywork, so you can focus on the human problems of the world.
Summary
This blog post introduces 13 AI tools that can help individuals and businesses eliminate busywork and focus on human problems.
- The first tool, ChatGPT, is an AI that can generate human-like text and engage in conversations.
- Jasper.ai is an AI-powered copywriting tool that assists with generating high-quality written content.
- Play.ht is a text-to-speech platform that converts written content into realistic audio using AI-generated voices.
- theGist is a Slack app that summarizes channels and threads for quick reference and catch-up.
- Notion AI is an AI text generator and editing tool within Notion.
- Mem is an AI-powered knowledge management and note-taking app that streamlines information capture, organization, and retrieval.
- Windsor.io is an AI-powered video generation tool that creates personalized videos for customers.
- Midjourney is an AI-powered art generator that creates digital artwork from text prompts.
- Fireflies.ai is an AI-powered meeting assistant and transcription service that automatically records, transcribes, and organizes conversations from virtual meetings.
- Notta.ai is an AI-based quick and highly accurate automatic transcription tool that turns audio and video into written text that supports 58 languages.
- Upmetrics is an AI-powered business planning software that helps entrepreneurs and small business owners create business plans, pitch decks, financial forecasts, and strategic plans.
- Simplified is an AI-powered writing tool that generates unique and plagiarism-free content for blogs, articles, ads, websites, and social media in various languages and tones.
- Fellow
The post concludes by stating that AI tools are here to support human work and not replace it. Start replacing busywork today with Paperform, the digital Swiss Army Knife for your business. Try for free.
1. ChatGPT
 (Image via OpenAI/ChatGPT)
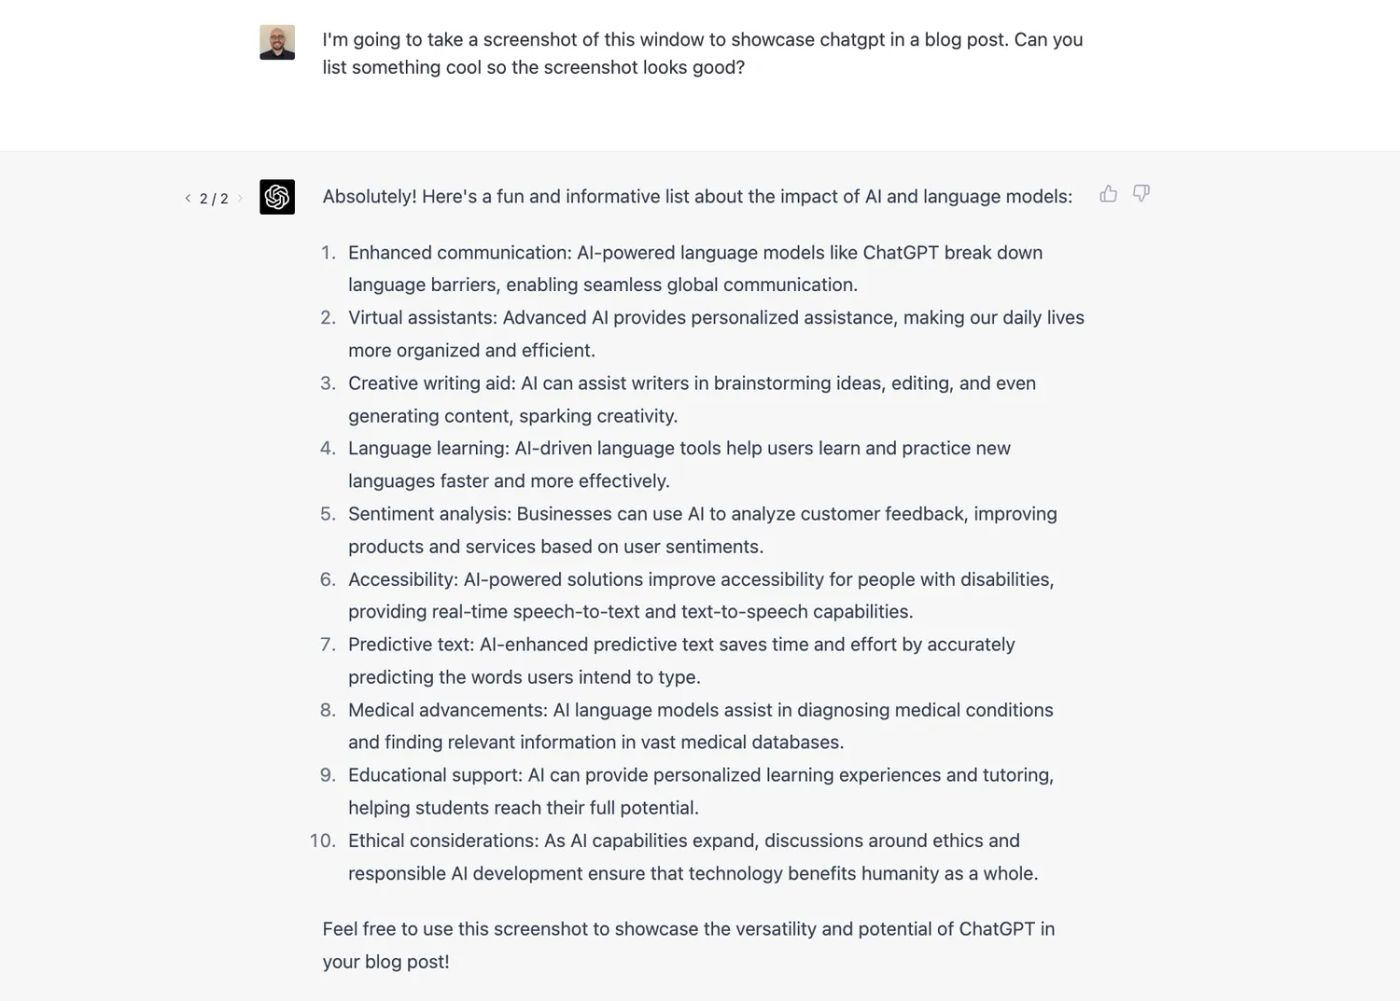
What is it: an AI that can understand and generate human-like text, enabling it to engage in conversations and provide informative responses on almost any topic.
Who’s it for: ChatGPT is designed for a wide range of users, including students, professionals, researchers, content creators, and anyone who seeks assistance with information retrieval, problem-solving, creative writing, language translation, learning, or general conversation and engagement.
ChatGPT by OpenAI is the AI tool that's garnered the most praise, and press, over the last few months. It’s got a powerful mission: to create safe artificial intelligence that benefits all of humanity. What’s not to like about that?
Although it’s seriously complex on the inside, ChatGPT’s interface couldn’t be easier to use. Just hop onto the site, type your prompt or question into the AI, and watch as a tailored, human-like response generates before your very eyes.
The use cases are just about endless, especially when you need quick AI insights. You can ask the AI to write an inspirational speech for a hypothetical little league team, or rank the most popular mid-century painters alphabetically, or code a website from a sketch in your notebook. (Really.)
Of course, the business potential is pretty astounding. ChatGPT can produce SEO-optimised long-form content for blogs, write job descriptions to help you recruit talent, create captions for social media posts or product descriptions, and answer just about any question you can imagine.
Watch: Building an Event Landing Page with AI Tools (ChatGPT & Midjourney)
If you haven’t already, you can try ChatGPT for free on their website. Provided the site traffic is low, you can ask the AI as many questions as you want without paying a dime. If you want access during high-traffic times and faster response times, you can upgrade to the pro plan for just $20/month.
2. Jasper
 (Image via Jasper.ai)
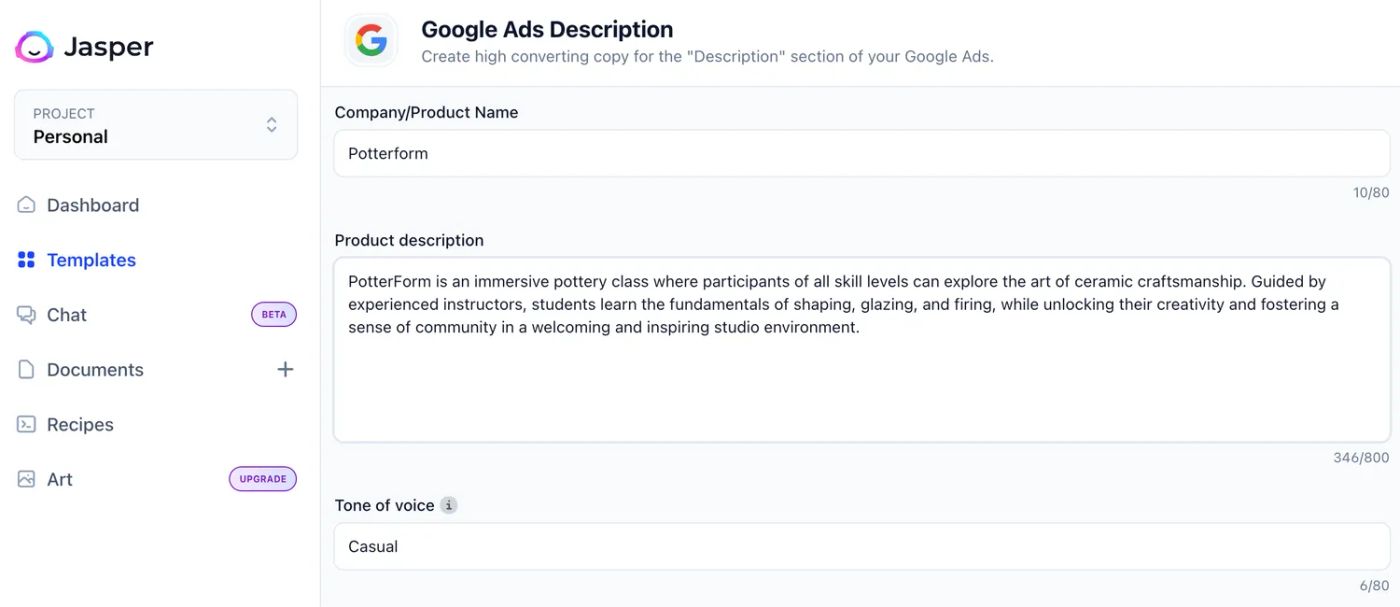
What is it: an AI-powered copywriting tool that assists users in generating high-quality, engaging content for various platforms and purposes.
Who’s it for: Content creators, marketers, entrepreneurs, social media managers, copywriters, and anyone who needs assistance in generating high-quality written content for their business, project, or online presence.
Jasper is a generative AI tool that can create long-form content in over 25 languages. Its interface works similarly to ChatGPT’s: you give the AI a prompt, and it churns out a written response following your parameters.
Let’s say you’re writing a blog post. You could ask Jasper’s AI to write the introduction paragraph to help you get the wheels turning, or ask it for ten potential titles to help find that perfect one.
Like most AI-powered tools, the best way to use Jasper is to give it clear parameters. When writing blog posts, you can specify your intended tone of voice, length or word count, and highlight any key points you want Jasper to hit.
If you’re looking for a content generator to add to your collection of writing tools, Jasper is a great option. Plus, the content generated with Jasper is checked for plagiarism and comes out automatically SEO-optimised, so you can check even more steps of your drafting to-do list.
As a paid service, it’s best suited for writing professionals or teams who can afford it. The pro plan comes in at $49/month billed annually, but anyone can try it out with a free trial for five days.
3. Play.ht
 (Image via Play.ht)
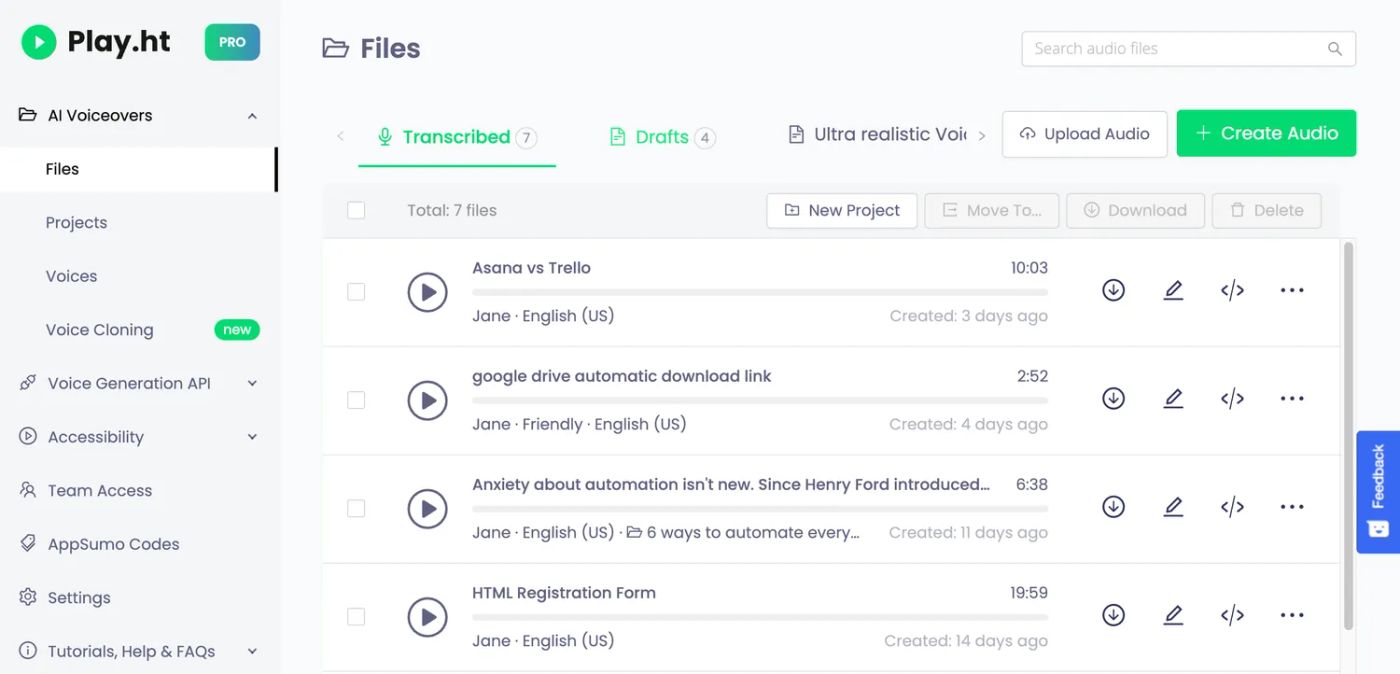
What is it: a text-to-speech platform that converts written content into realistic and engaging audio using AI-generated voices, enhancing the accessibility and reach of blogs, articles, and other written materials.
Who’s it for: Content creators, bloggers, publishers, educators, and businesses who want to expand their audience by providing an audio version of their written content, making it accessible and engaging for a broader range of users, including those who prefer listening to reading or have visual impairments.
Let’s say you’re working on an animated video to promote your product online. You have two main options for voiceover: settle for a super robotic Siri knock-off voice, or spend tons of time and money finding an actor to voice your project.
Voice generators like Play.ht offer a new solution. Just copy and paste your text into the AI, and Play.ht will spit out a high-quality audio file in seconds.
This speech generator doesn’t just churn out robotic voices, either. Play.ht has a library of realistic, human-sounding voiceovers to choose from. There’s even a voice cloning feature you can use to have the AI match pre-existing voice samples, although this feature comes at an extra cost.
Play.ht can be embedded anywhere online with a simple HTML widget. We use it on the Paperform blog to make posts (like this one!) more accessible, and find the process quick and seamless.
Play.ht offers a limited free plan for individual use, with paid plans starting at $29.25/month. In order to get access to the hyper-realistic voices, though, you’ll need to go for the premium plan that comes in at $49.50/month.
4. theGist
 (Image via theGist)
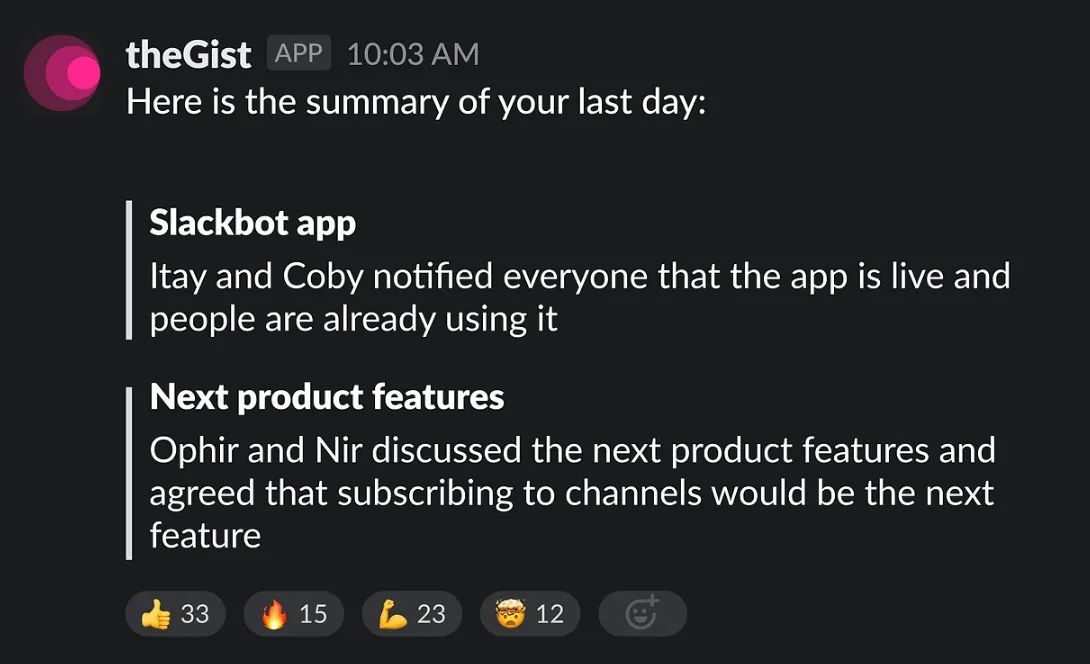
What is it: a Slack app that boosts productivity by providing concise, one-click summaries of channels and threads for quick reference and catch-up.
Who’s it for: Slack power users struggling to keep up with their many channels
If you’ve ever found yourself haunted by the constant pinging of Slack messages, theGist is the tool for you. This incredible AI tool allows you to summarize all of the new messages in a Slack thread or channel in just one click.
Once you install the app, just type /gist into Slack. From there your new AI Slack assistant can summarize channels, messages and threads, and even send you a daily digest of everything that's happened, so you can spend less time monitoring Slack channels and more time actually working.
TheGist offers a free plan that’ll get you 5 summaries a day, and you can unlock unlimited summaries for just $4.99/month.
[CTA: Send form responses straight to Slack | Create with Paperform for free today. | Get Started ]
5. Notion AI
 (Image via Notion)
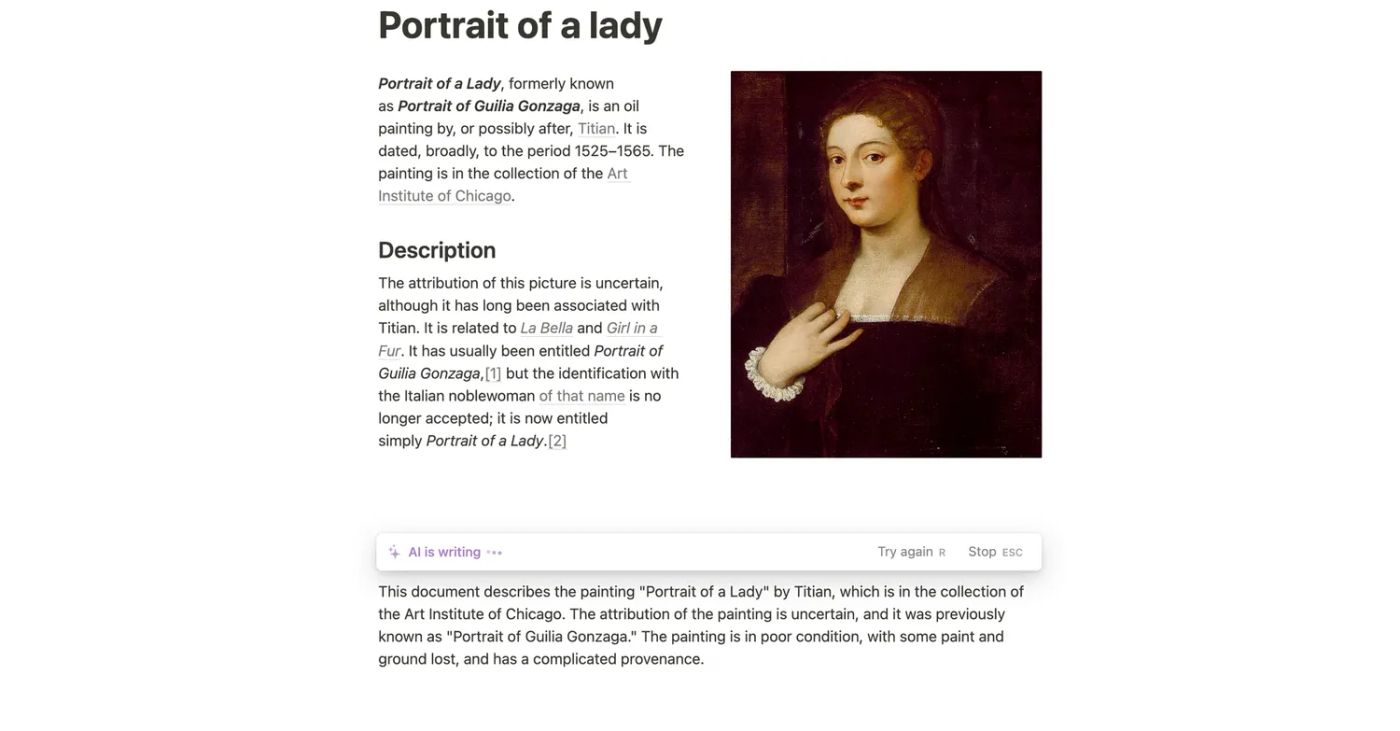
What is it: an AI text generator and editing tool within Notion.
Who’s it for: Notion users looking to automate more of their drafting, editing, or formatting processes.
Notion describes its AI as an “ultra-capable teammate,” and for good reason. You can use it to summarise messy meeting notes, turn loose data points into tables, edit your text to fit a particular tone, or even brainstorm the first draft of your next project.
The text generation capabilities are exciting, but it’s the editing features that make this tool stand out. Use it to translate, look up any confusing terms, fix spelling and grammar, or cut down or expand upon sections.
This tool only works in Notion, and is designed to support the work you already do in the app. If you don’t have a Notion account, you can use their free plan for personal use, or choose from one of the paid plans starting at just $8/user/month.
6. Mem
 (Image via Mem)
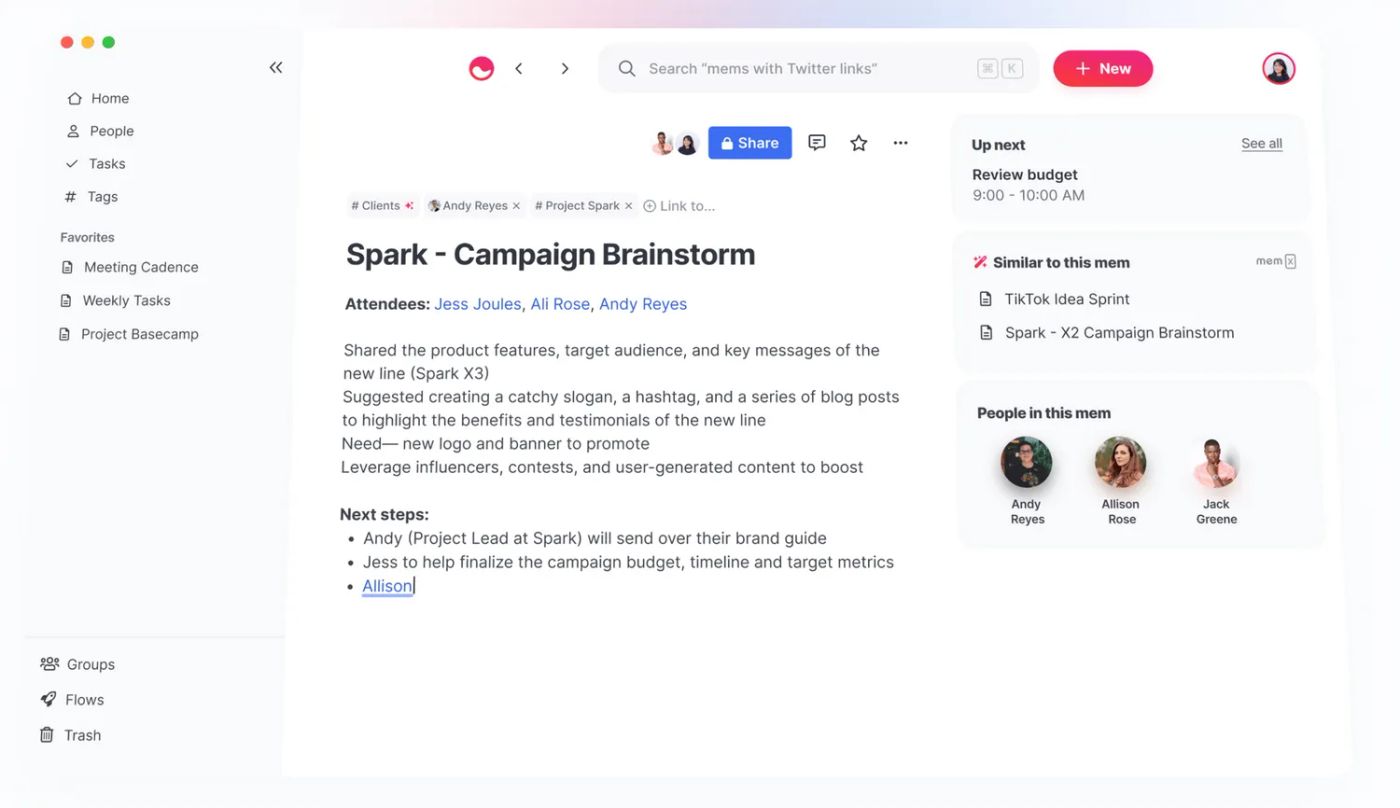
What is it: an AI-powered knowledge management and note-taking app that streamlines information capture, organization, and retrieval to enhance productivity and collaboration.
Who’s it for: Professionals, students, researchers, teams, and anyone seeking an efficient and intuitive solution for managing information collaboratively.
Mem calls itself “the world’s first knowledge-aware AI writer,” which (in addition to sounding very cool) is a pretty accurate representation of what it does. It’s an AI-powered notetaking app that can pull knowledge from across your digital presence to create an organised central database.
There is a wide range of uses for this tool, like making a personal search engine of all your past and current work, saving and organising your data, writing content, and organising team projects. The cool thing about Mem’s AI is that it learns from you, so it can create a self-organising workspace that works specifically for each user.
Mem is also developing a “smart write” AI feature similar to ChatGPT or Jasper that could be used for drafting new content in the app. To use the AI in the app, you’ll need to pay for a plan at $8/month.
Read: Say goodbye to boring meetings: How to make asynchronous collaboration work
7. Windsor.io
 (Image via Windsor.io)
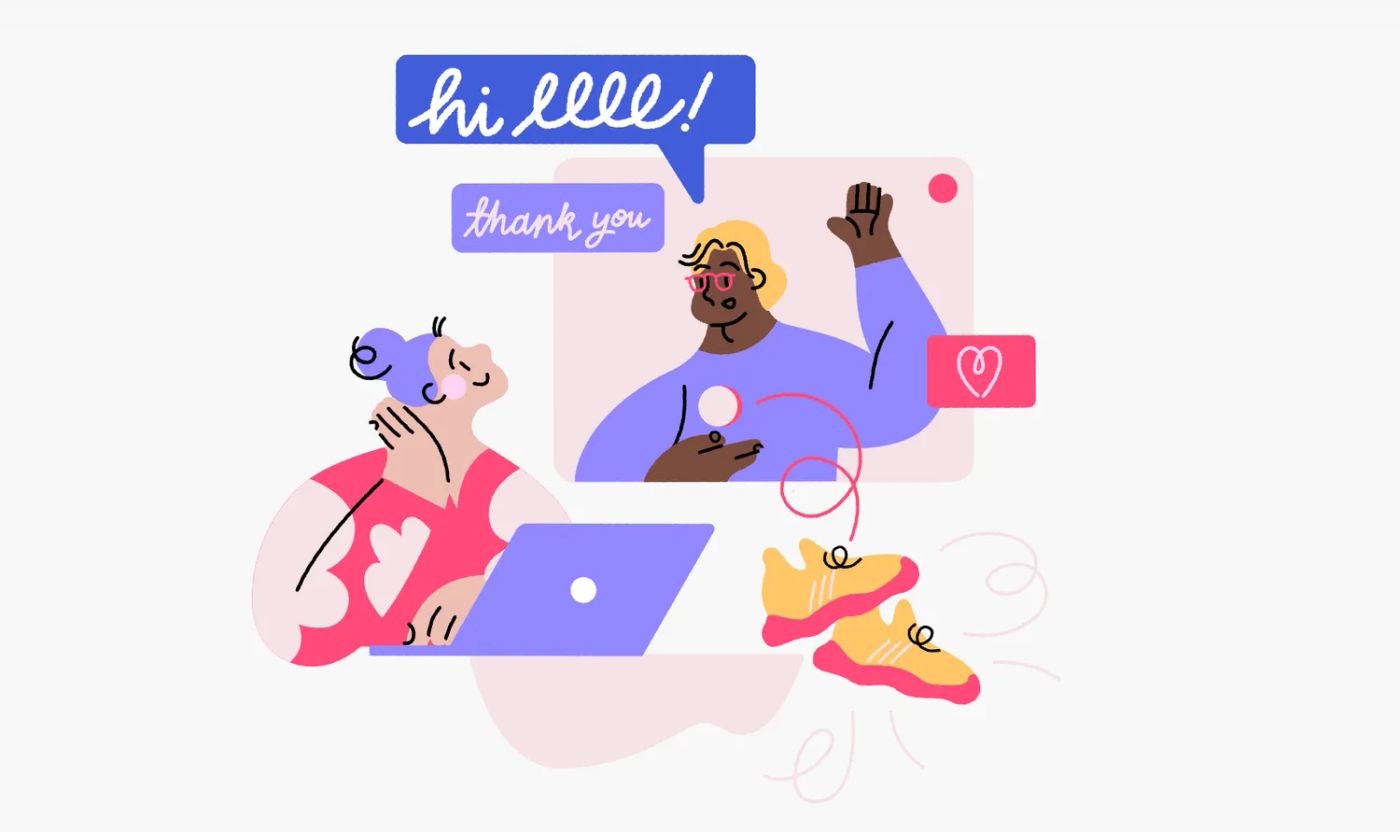
What is it: an AI-powered video generation tool that enables businesses to create, and scale, personalized videos for their customers
Who’s it for: Marketers, business owners, content creators, and e-commerce businesses seeking to enhance customer engagement, brand awareness, and conversion rates through personalized and compelling video content.
If you’re looking for a way to incorporate snappy and stylish videos into your marketing strategy, Windsor.io is the tool for you. It uses AI to generate limitless personalised videos—all from just one sample video.
It’s a great way to create engaging content for key points in the customer journey, like thanking customers personally after purchase, or encouraging them to return to the checkout page after abandoning their shopping cart.
To get started, all you have to do is make one short video (animated or live), feed it to Windsor’s AI, and specify what kind of customisation you’re looking for. You can try it out for free on their website to get a better sense of how the tool works.
Windsor offers a free plan that supports up to 500 videos a month and a handful of starter videos. Paid plans start at $300/month or 30c/video.
[CTA: Build a form that works well everywhere. | Create with Paperform for free today. | Get started]
8. Midjourney
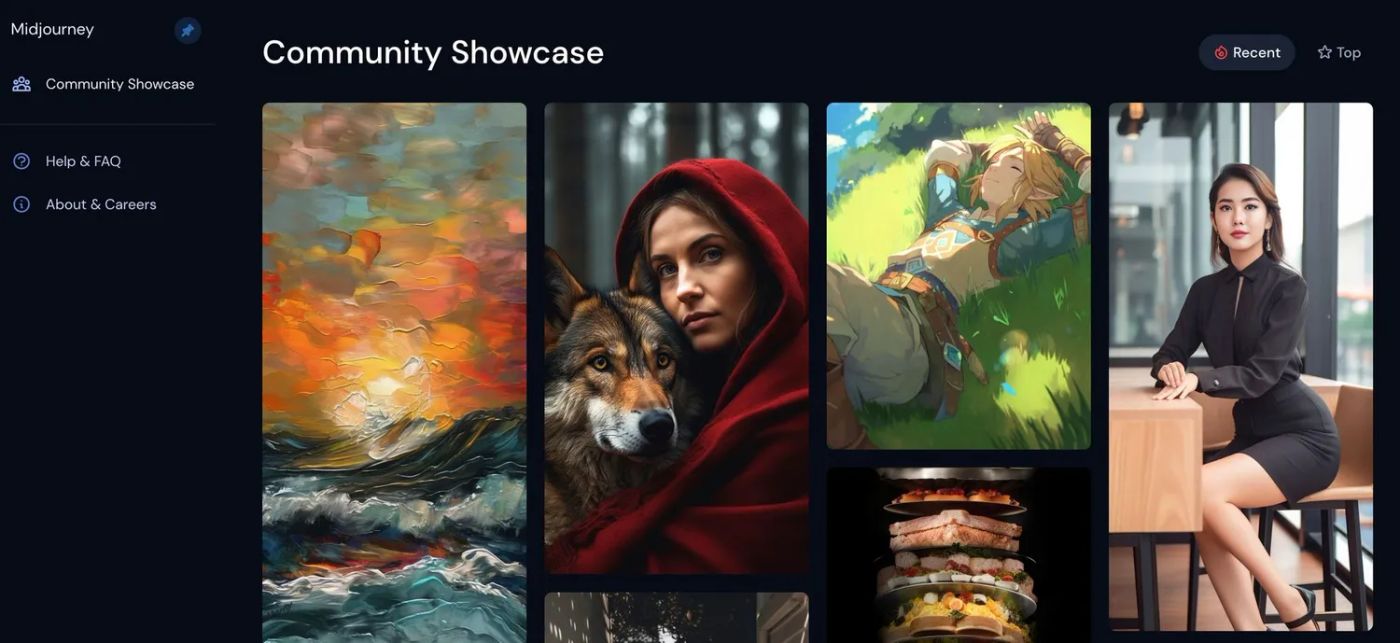 (Image via Midjourney)
What is it: an AI-powered art generator that enables users to create unique and captivating digital artwork from text prompts.
Who’s it for: Artists, graphic designers, content creators, marketing professionals, and anyone seeking to enhance their creative projects with unique, and easily customizable, digital artwork.
Midjourney generates stylistic, hyper-detailed digital art from written prompts. To use it, all you have to do is sign up for the Beta, join the Discord, and type /imagine into a newbie channel to access the AI. From there, simply type a short description of the piece you’d like to create, and you’re off to the races.
If you haven’t already played around with Midjourney, it’s worth a try. The results are remarkable. You can create truly anything you can imagine--from a picture of Red Riding Hood cuddling a wolf, to a bowl of spaghetti in the style of Monet.
Midjourney is completely free for anyone to try, although users do have to use it as part of a public Discord channel. If you want to create AI images via direct message (and get access to even faster load times), paid plans start at just $10/month.
9. Fireflies.ai
 (Image via Fireflies.ai)
What is it: an AI-powered meeting assistant and transcription service that automatically records, transcribes, and organizes conversations from virtual meetings, allowing users to easily review, search, and share important information
Who’s it for: Professionals, teams, managers, and businesses that frequently engage in virtual meetings, webinars, or conference calls, and require an efficient solution to record, transcribe, and manage crucial information discussed during those sessions
Fireflies.ai is an AI transcription tool that allows you to record and transcribe audio and video calls in real-time.
Fireflies.ai integrates with your calendar apps in addition to Google Meet, Zoom, Teams and more so you can use it wherever you video conference. When you run it, the AI will record the call, transcribe it to text, and create a quick summary of your meeting notes.
It’s the perfect way to consolidate what was accomplished in the meeting without trying to power through that post-Zoom brain fog. Fireflies.ai offers a free plan for individual use, but if you want access to unlimited transcriptions, paid plans start at $10/month.
10. Notta.ai
What is it: a best-in-class AI transcription tool that makes it effortless to convert audio and video content into readable text in real-time with up to 98.86% accuracy.
Who’s it for: Content creators, writers, students, professionals, social media managers, teams, business owners, and anyone who wants to take notes, make sound records, and get meeting summaries with higher productivity and accuracy.
Notta, a one-stop automatic audio-to-text AI-based tool can be considered your top pick whether you want to take notes for live meetings, podcasts, interviews, and other audio and video sources, or require a collaborative workspace where you can easily share transcripts and co-edit with your team. It is available on the Web, iOS, and Android so you can access it anywhere.
Notta claims an accuracy of up to 98.86%, making it a formidable AI-powered tool for automated transcription. Notta also features an AI summarizer, which synthesizes lengthy meetings into concise summaries.
Notta offers a free plan with 120 minutes of transcription per month with a maximum of 3 or 5 minutes duration per transcription. Users can enjoy extra minutes and integration by subscribing to the paid plans starting at just $8.25/month.
11. Upmetrics
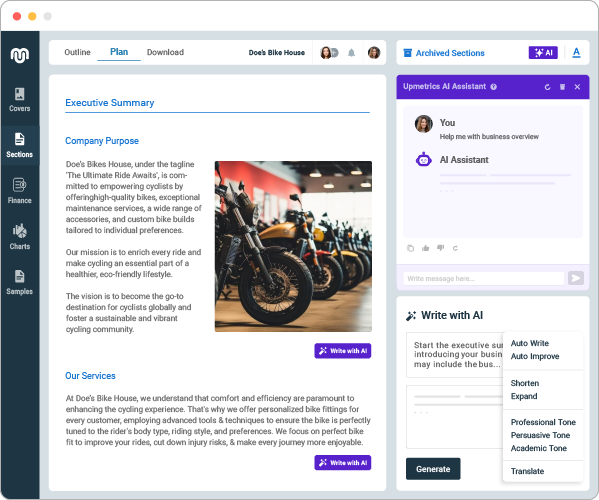
(Image via upmetrics.co)
What is it: An AI-powered business planning tool that streamlines the business planning process by generating high-quality business plans, pitch decks, and financial forecasts for your business.
Who is it for: Small businesses, entrepreneurs, educators, students, and scholars who need assistance and resources for business planning and growth.
Upmetrics is a business planning tool offering AI functionalities to create business plans, pitch decks, and financial forecasts, quintessentially required to secure investments and funding for your business. This easy-to-use tool is suitable even for individuals who have no prior experience in business planning.
Let's say you are writing a business plan or creating a pitch deck to raise funds for your startup. Would you rather spend days and months at the end to create this professional document or use a tool to complete this task in less than a day?
Exactly, you would choose ease, right? Upmetrics's range of business planning solutions not only saves time and money but also enhances the effectiveness of your business planning documents by guiding you to plan efficiently.
Its starter pack costs $7 every month and offers 400+ business plan samples, a pitch deck creator, and financial forecasting for up to 3 years.
However, by subscribing to a premium plan for $14 every month, you get access to AI tools that use AI to create your business plans, pitch decks, and financial forecasts in minutes.
12. Simplified AI Writer
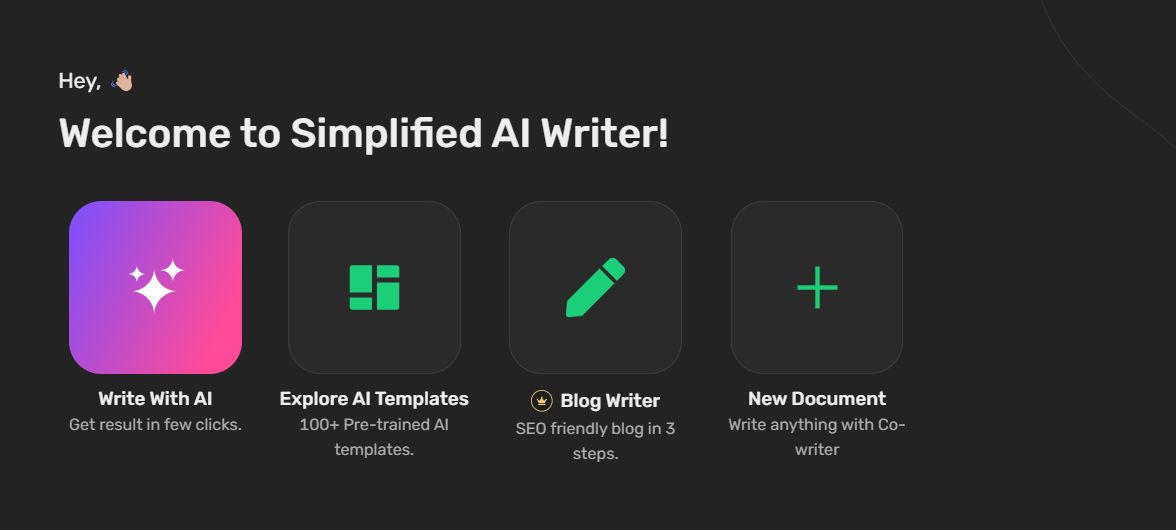
What is it: An AI-powered tool that generates unique and plagiarism-free content for blogs, articles, ads, websites, and social media in various languages and tones.
Who's it for: Simplified AI Writer is ideal for content creators, marketers, entrepreneurs, and social media managers who need high-quality written content quickly. It offers over 80 templates for various content types, including product descriptions, emails, and social media posts, making it versatile for different writing needs.
For individual users and small businesses, the free plan includes up to 2000 words per month. Paid plans start at $12 per month (billed annually) for up to 35,000 words per month, with higher tiers available for more extensive needs.
The platform’s flexibility in language and tone customization ensures tailored content for specific audiences. Its AI capabilities streamline the writing process, saving time while maintaining high-quality output. Simplified AI Writer is valuable for professionals looking to enhance content creation, improve productivity, and maintain consistent, engaging communication.
With features like plagiarism checks and SEO optimization, Simplified ensures unique and effective content, making it suitable for personal projects and professional marketing campaigns alike.
13. Fellow
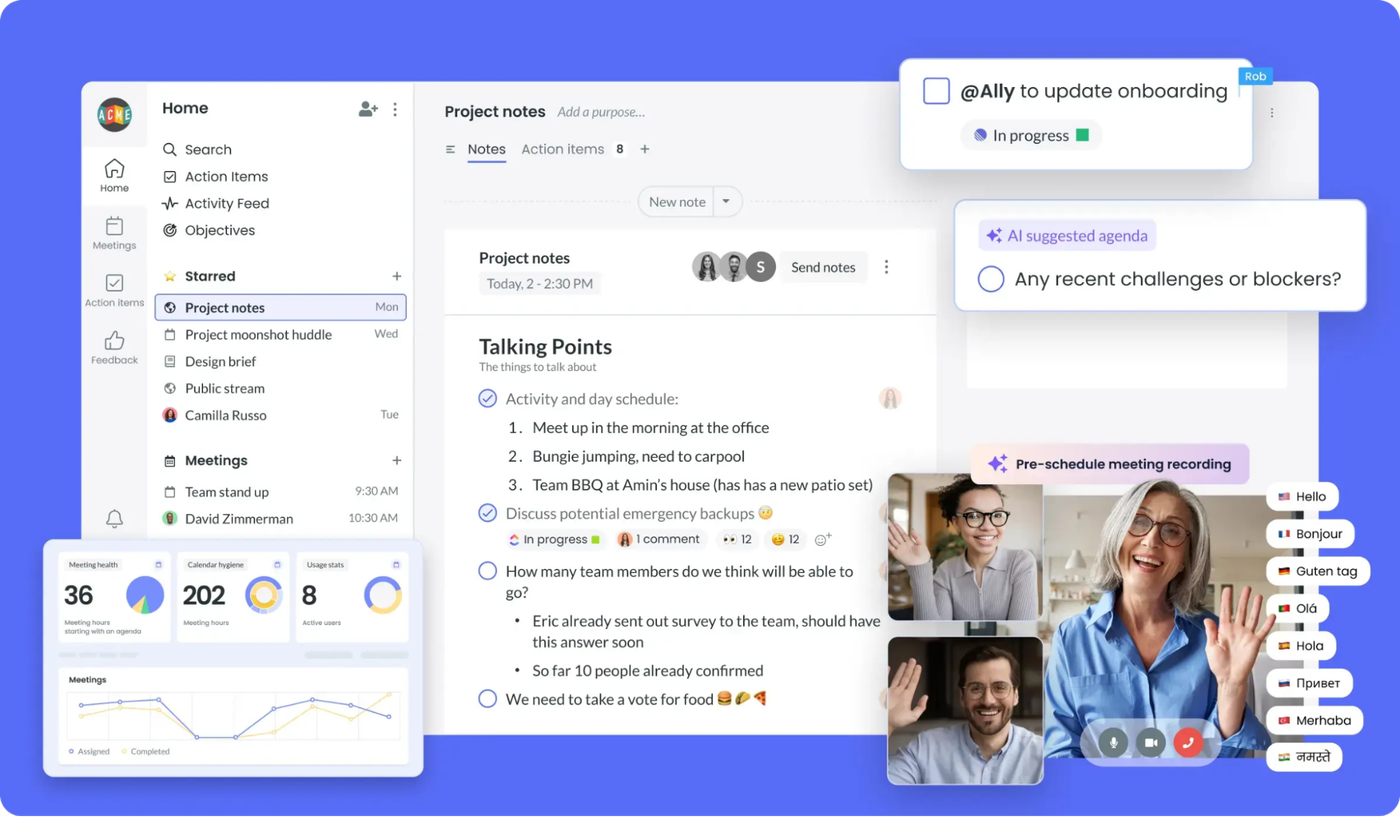
What is it: an AI meeting assistant that helps remote and hybrid organizations spend less time in meetings so they can get more done.
With Fellow’s meeting agenda features, AI-powered recaps, and follow-up features such as “Ask Fellow Copilot”, teams can conduct and follow up on meetings more efficiently, ensuring that meetings are structured, focused, and result in productive outcomes.
Who’s it for: HR, Operations, IT Professionals and leaderslooking to enhance meeting efficiency and collaborationIt's ideal for those who want to avoid wasting time on unproductive discussions.
Fellow not only helps you create organized meeting agendas but also captures key discussion points and turns them into actionable tasks. By keeping your meetings aligned and focused, it saves you hours of manual follow-up work and ensures that your team stays on track.
Fellow offers a free plan for individual use, with paid plans starting at $7/user/month for additional features and team collaboration.
AI tools are for everyone
Artificial intelligence has come a long way from The Logic Theorist, the first machine learning tool developed in 1956. And like a dog from its favourite spot on the couch, AI isn’t going anywhere any time soon.
When working with advanced AI tools, it’s important to remember that they’re not a replacement for human work. They’re here to support the unique and wonderful things you do every day by automating the process that you don’t have the money or time to complete.
Using any AI tools that we've missed? We'd love to hear about it. Get in touch on Twitter, or respond to the feedback form below.
Want to reduce busy work without investing in AI? Try Papersign, our eSignature solution built to simplify creating, managing and signing documents online. Sign up free—no AI required.
Related reading