On specific pricing plans, you can create a custom font style and apply it to specific text on your form.
First, go to Theme & Appearance → Typography. Click the "Add custom style group +" button at the very bottom to create a new font setting.
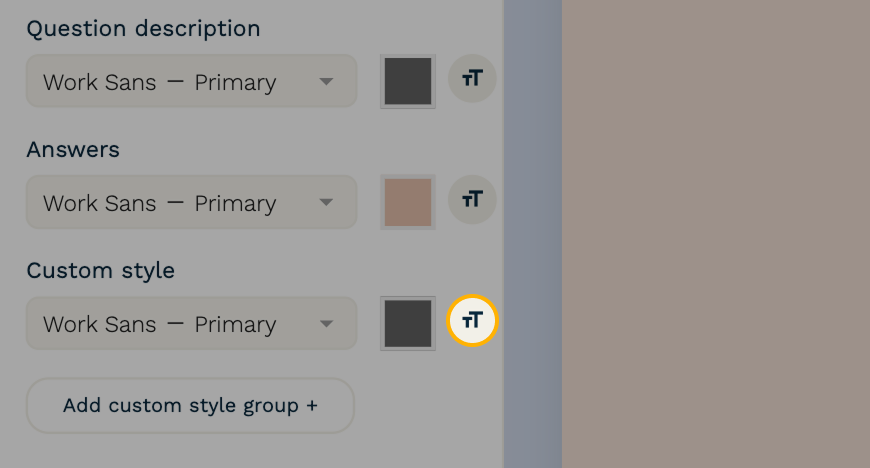
This will add a new typography setting called "Custom style." Click the font icon (two T's) to the right to customize it.
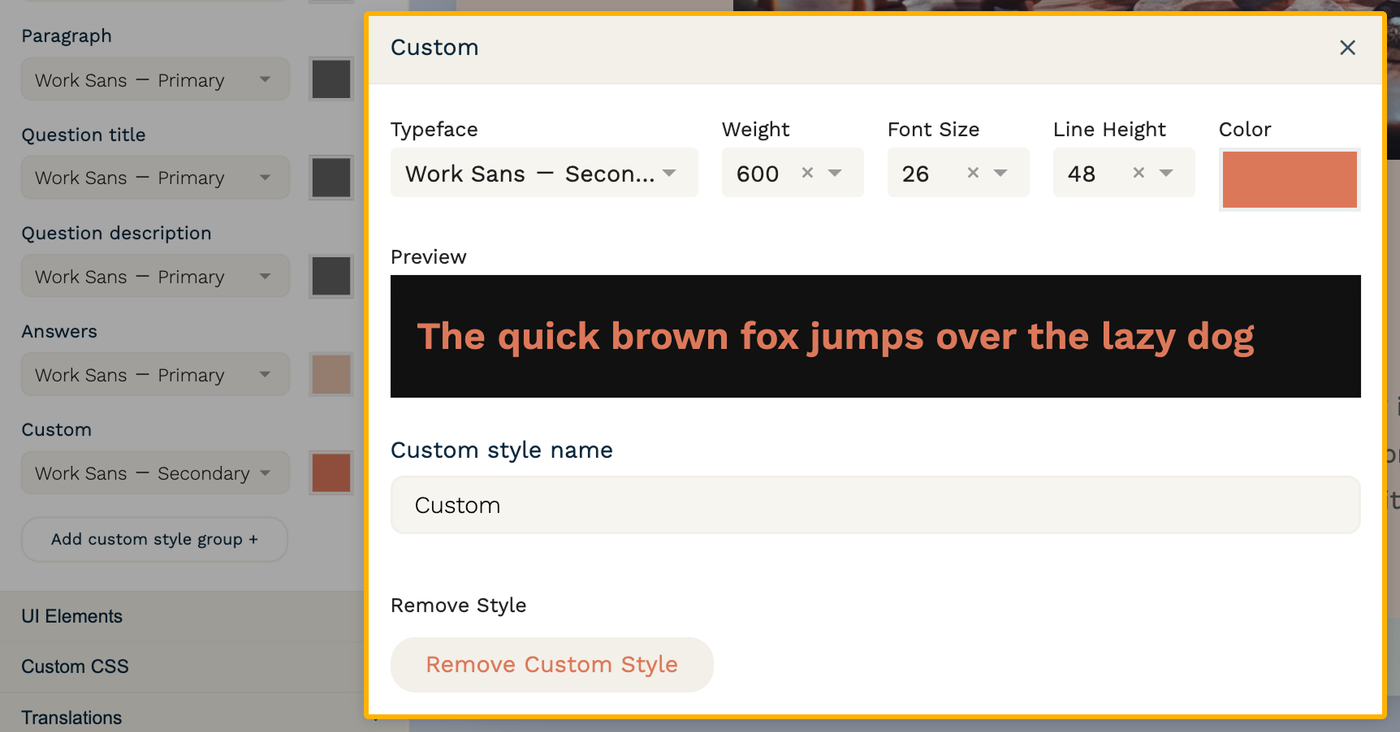
From the following menu, you can customize the font, weight, size, line height, and text color. You'll also see options to change the name or remove the style.
To apply your new style to your text, return to the form editor and highlight the text that you'd like to update. From the formatting bar, click the arrow to the far right, then select the style.

Gotchas
- You can only apply a custom font style to text that can be highlighted in order to customize.