
All Solutions

Explore all the solutions you can create with Paperform: surveys, quizzes, tests, payment forms, scheduling forms, and a whole lot more.
See all solutions


Connect with over 2,000 popular apps and software to improve productivity and automate workflows
See all integrationsSolutions
All Solutions

Explore all the solutions you can create with Paperform: surveys, quizzes, tests, payment forms, scheduling forms, and a whole lot more.
See all solutionsIntegrations

Connect with over 2,000 popular apps and software to improve productivity and automate workflows
See all integrationsResources
Yoga Studio Management Software
Automate the management of your yoga studio with Paperform. Manage student registrations, collect secure payments & schedule individual and group sessions using our web software app.
Automate the management of your yoga studio with Paperform. Manage student registrations, collect secure payments & schedule individual and group sessions using our web software app.
1. Use the template.
Go to the template page and click "use this template". If you don't have a Paperform account, you will need to sign up for a free trial first (no CC required).
You can also start a form from scratch if you would like, but using templates is a great way to get off the ground and familiarize yourself with Paperform.
2. Change the name, cover, and text in your form.
It is simple to edit or remove the heading of the form by clicking on the text. This is the same for any body of text throughout the form. Likewise, if you wish to edit any of the questions on your template, simply click on the question text and do as you please.
If you want to make a body of text shorter or simply delete it, you can highlight the text as though you are working on a word doc.
This template has a cover image added to give a personal feel to the form. If you wish to replace or remove, click on the image and a toolbar will appear above. Click the picture icon to replace the image with a file of your own or simply click the 'X' icon to remove the image entirely.

Find out more about adding images to your forms.
You can add a body of text, image, or question anywhere on your form builder by simply clicking the area on which you wish to create. A small toolbar will appear on the left, from this you can choose what you wish to add to your form by clicking the corresponding icon.

Find out more about adding page breaks to your form.
3. Change the look and feel of your yoga registration form.
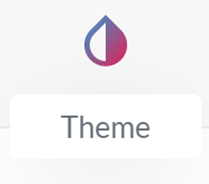
Now that you have changed the basics of your form it is time to make the form more personal to you. In the top right corner of your form editor is the 'Theme' icon.
Once you click on this you will enter your theme settings, from here you can edit the form to feel more personal. Simple changes such as the font and color of the text can be done from here while you can edit the appearance of your text in more detail from the 'Typography' tab.
The look and feel of your buttons and questions can be edited from the 'UI Elements' tab, while you can change the background color and even upload a background image from this tab as well. Have a play with making this form more 'YOU'.
4. Set up your yoga subscription.
Now we need to make sure you are receiving payment for your yoga sessions! Firstly we need to ensure you have a payment gateway account where this is possible.
By default, we used a Stripe account to show you how to create a subscription plan for your form. If you are wanting to achieve this with Braintree then check out this how-to on creating subscription plans with Braintree.
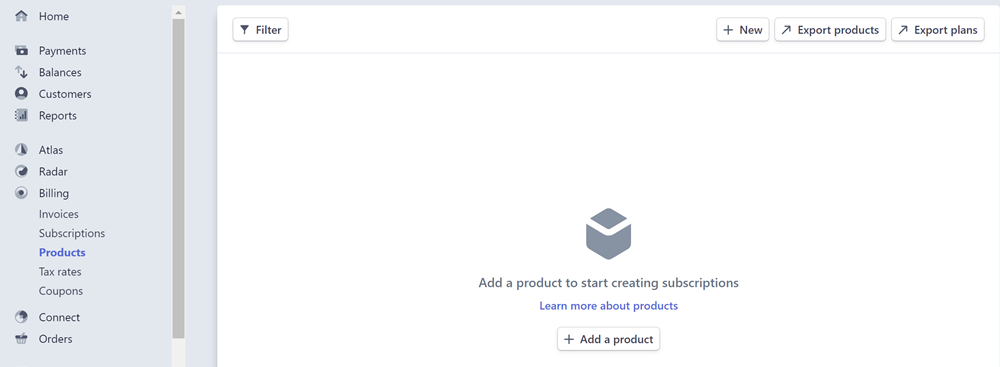
You first will want to create or sign in to your Stripe dashboard. From here go into your products where you will see the option to create a product.
Click the 'Add a product' button to create a subscription plan, follow the prompts, edit the fields to suit your needed subscription plan, and finalize.
Now that is set up, awesome!
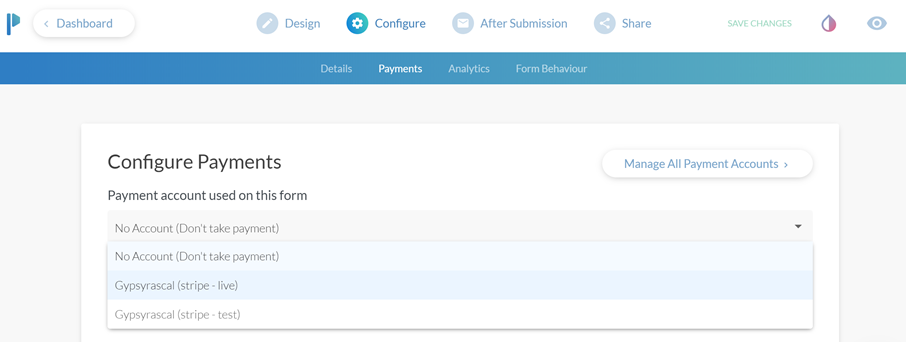
From here we want to go back into our form editor dashboard so we can connect the subscription. Click on 'Configure' > 'Payments' and connect your Stripe (or Braintree) account.
Now go into the 'Subscription' question settings by clicking on the configure icon that sits on the right-hand side of the question. You will now see available plans for subscription, simply choose the correct plan. Ensure you scroll through the available settings for Credit Cards, Payment Options, and Subscription Settings and make your selections.
5. Put through a test submission.
Click the 'view" button to go to the live form. Fill in the form and submit it. You can access submissions via the dashboard.
6. Organize where to meet for sessions (Google Hangout).
Now that your form is all set up and ready, we are going to need to organize where you will meet your students for the live video yoga sessions.
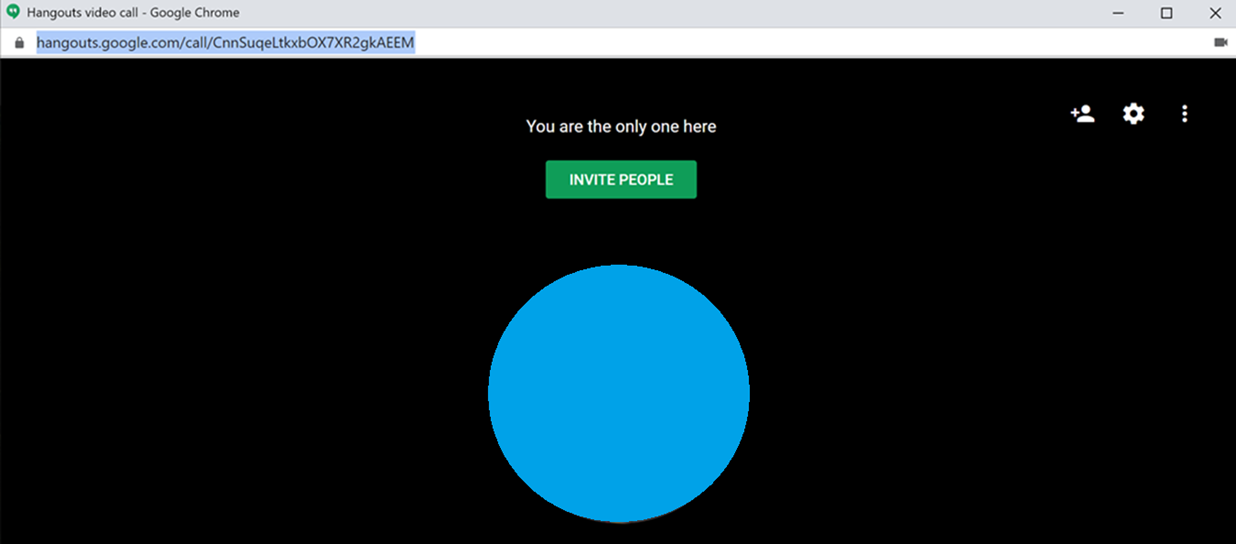
By default, we have simply used Google Hangouts as it is free and will be easily available to all your students. Another great option would be to use a live Facebook video link or even a paid Zoom account.
Simply ensure you have a Google Hangouts account and create a video chatroom, copy the URL link of this chatroom so you can easily send it to your current students and link it into the automatic after submission email we are about to go through.
7. Set up automatic after submission email.
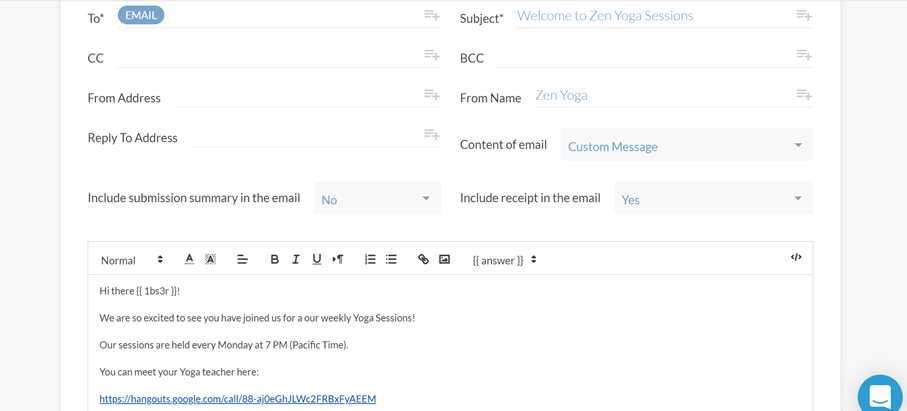
After a customer has submitted their booking and made their payment you will want to send them a confirmation email containing details of their session and payment.
To set up a confirmation email that will automatically send once a customer has submitted their form simply go into After Submission > Emails. Then click 'add email' follow the prompts and create your automatic email.
You can pipe answers from your submitter into this section such as their email or name.
Find out more about answer piping.
8. Connect to HubSpot to keep your students' details in one place.
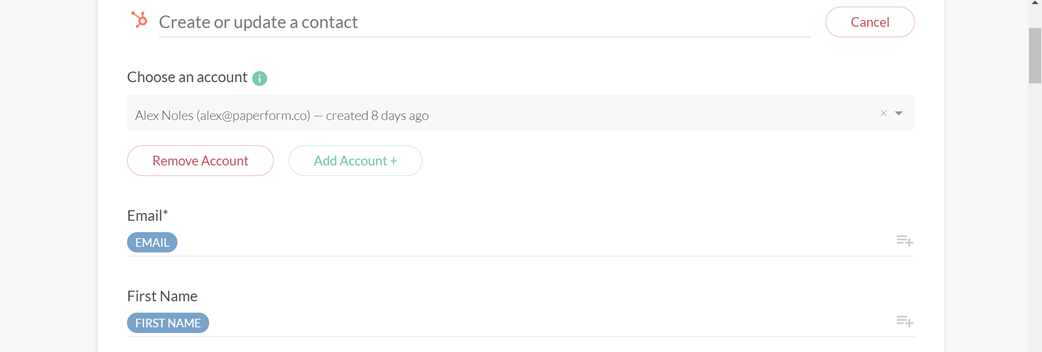
Keep all your students' details in one easy to read location. Our integration with HubSpot, a leader in Customer Relationship Management, makes it easier to connect with your students and keep that relationship blossoming.
You can take control of your emails, reporting, goals, and more. To connect simply go into After Submission > Integrations & Webhooks, Click on the HubSpot icon and follow the prompts.
9. Final checklist.
Before making your form live and beginning to accept bookings from excited yoga students, you’ll want to do the following:
- Edit the title, description, cover image, and custom URL under Configure>Details.
- Customize the submission page message under After Submission > Success Pages & Redirect.
You're done! You can get the URL or embed code of the online order form under the Share menu in the form editor.
Happy form making!