Mobile Mechanic Software
Automate your mobile mechanic business with Paperform. Enjoy easy online bookings, job management, invoicing, and order management — all in one place.

1. Use the template.
Head to the template page and click "use this template".
If you don't have a Paperform account, you will need to sign up for a free trial first (no CC details required).
You can also start a form from scratch if you would like, however, using a template is a great way to get off the ground and familiarize yourself with Paperform.
2. Change the name, cover, and text in your form.
It is simple to edit or remove the heading of the form by clicking on the text. This is the same for any body of text throughout the form. Likewise, if you wish to edit any of the questions on your template, simply click on the question's text and do as you please.
If you want to make a body of text shorter or simply delete it, you can highlight the text as if you are working on a Word doc. You also have the option to change the positioning of your text, the font, and the font size.
This template has a cover image added to give a personal feel to the form. If you wish to replace or remove it, click on the image, and a toolbar will appear above. Click the picture icon to replace the image with a file of your own, or simply click the 'X' icon to remove the image entirely.
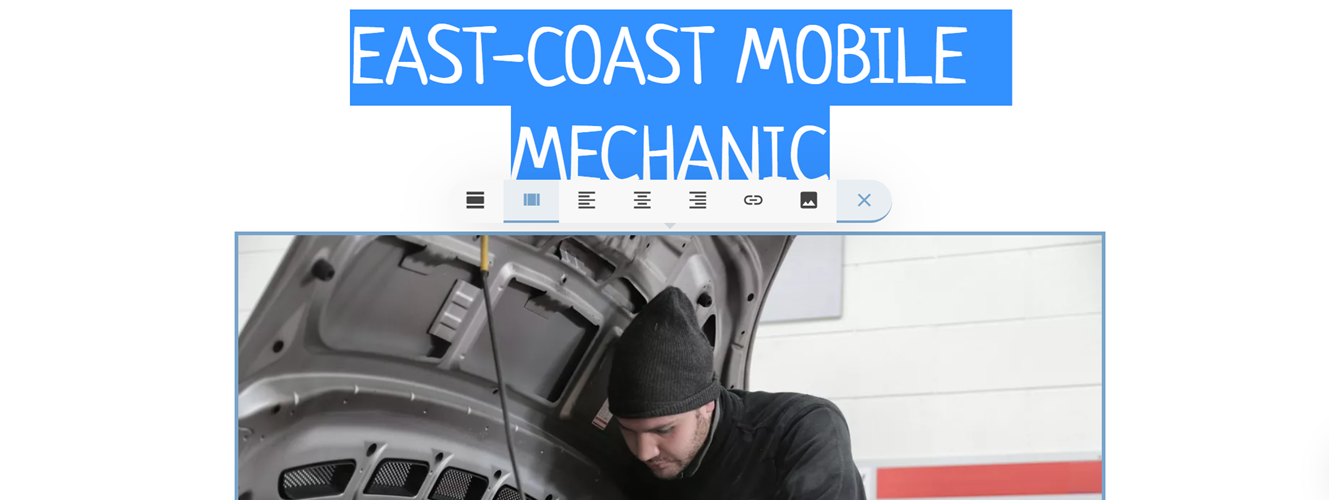
Find out more about adding images to your forms.
You can add a body of text, image, or question anywhere on your form builder by simply clicking the area on which you wish to create. A small toolbar will appear on the left, from this you can choose what you wish to add to your form by clicking the corresponding icon.

Find out more about adding page breaks to your form.
3. Change the look and feel of your form.
Now that you have changed the basics of your form, it is time to make your mobile mechanic order form more personal. In the top right corner of your form editor is the 'Theme' icon.
Once you click on this you will enter your theme settings, from here you can personalize your form. Simple changes such as the font and color of text can be done from here, while you can edit the font and appearance of your text in more detail from the 'Typography' tab.
The look and feel of your buttons and questions can be edited from the 'UI Elements' tab. You can change the background color and even upload a background image from this tab as well. Have a play with making this form more 'YOU'.
4. Edit your questions.
To edit your questions, simply click on the Configure icon that lays on the right-hand side. From here you have the option to choose your 'Question-type', change the visible settings, edit the answers, and more.

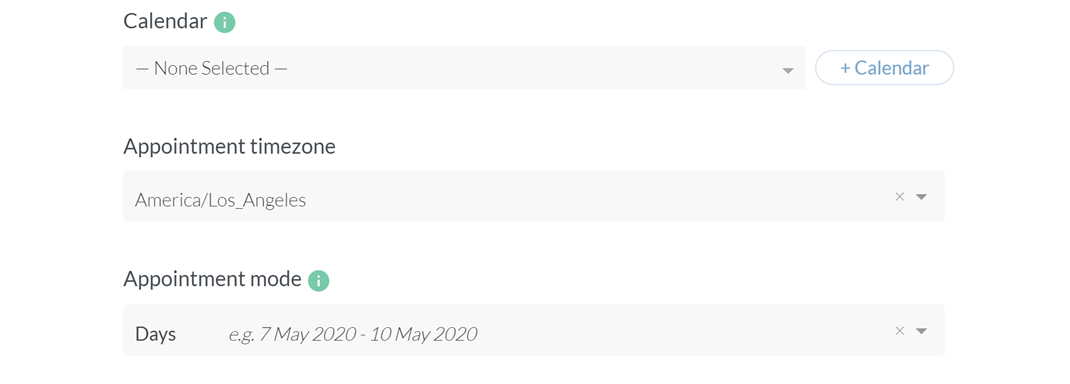
This particular template has the 'Appointment' question type. We are using this to prompt the submitter to choose a day they would prefer to have their vehicle serviced.
You have the option to edit the booking's setup, change your availability, and allow your submitter to choose a time rather than a day.
Furthermore, you can connect your Google Calendar to the Appointments, this will then mark already booked time/day slots as unavailable.
5. Put through a test submission.
Click the 'view" button to go to the live form. Fill in the form and submit it.
You can access submissions via the dashboard.
6. Set up automatic after submission email.
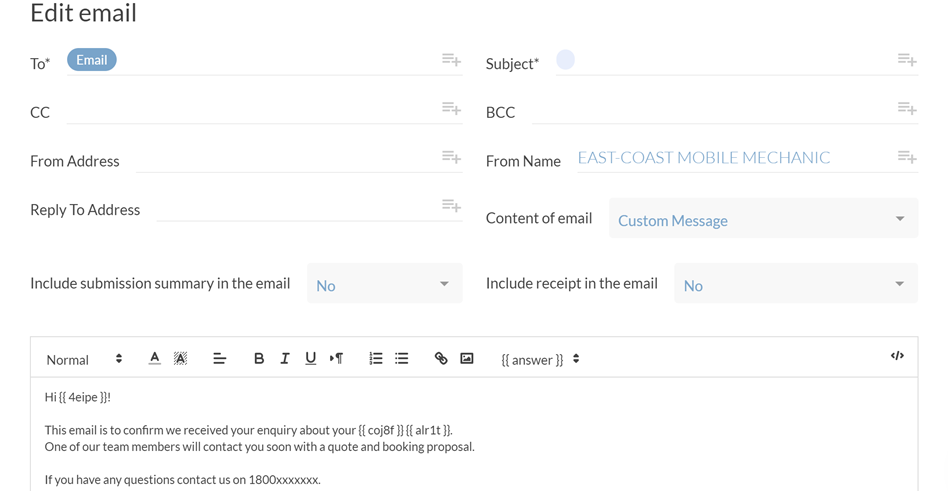
After a client has chosen the date they wish to receive their vehicle service and submitted the form, we want to send them an automatic confirmation email. This email should contain the details of the submitter as well as any responses to questions you deem important.
To set up a confirmation email that will automatically send once a customer has submitted their form simply go into After Submission > Emails.
Then click 'Add email' follow the prompts and create your automatic email. You can pipe answers from your submitter into this section such as their email or name.
Find out more about answer piping.
7. Connect to HubSpot to keep your clients' details in one place.
Keep all your clients' details in one easy to read location.
Our integration with HubSpot makes it easier to connect with your clients and keep that relationship blossoming. You can take control of your emails, reporting, goals, and more.
To connect simply go into After Submission > Integrations & Webhooks, Click on the HubSpot icon and follow the prompts.

8. Final checklist.
Before making your form live and starting to accept bookings for your mechanic services, you'll want to do the following:
- Edit the title, description, cover image, and custom URL underConfigure > Details.
- Customize the submission page message underAfter Submission > Success Pages & Redirect.
You're done! You can get the URL or embed code of the online order form under the Share menu in the form editor.
Happy form making!