All Solutions
Explore all the solutions you can create with Paperform: surveys, quizzes, tests, payment forms, scheduling forms, and a whole lot more.
See all solutions


Connect with over 2,000 popular apps and software to improve productivity and automate workflows
See all integrationsSolutions
All Solutions
Explore all the solutions you can create with Paperform: surveys, quizzes, tests, payment forms, scheduling forms, and a whole lot more.
See all solutionsIntegrations
Connect with over 2,000 popular apps and software to improve productivity and automate workflows
See all integrationsResources
Software For Course Creators
Do you have the knowledge and skills that you want to share through an educational online course? Create your own landing page and automate the whole workflow using Paperform. Start getting students to sign-up today!
Do you have the knowledge and skills that you want to share through an educational online course? Create your own landing page and automate the whole workflow using Paperform. Start getting students to sign-up today!
1. Use the template.
Go to the template page and click "use this template."
If you do not have a Paperform account, you will need to sign up for a free trial first (no CC Details required).
You also can begin a form from scratch. We recommend using our templates though since it's a great way to get familiar with Paperform's platform (and save time!).
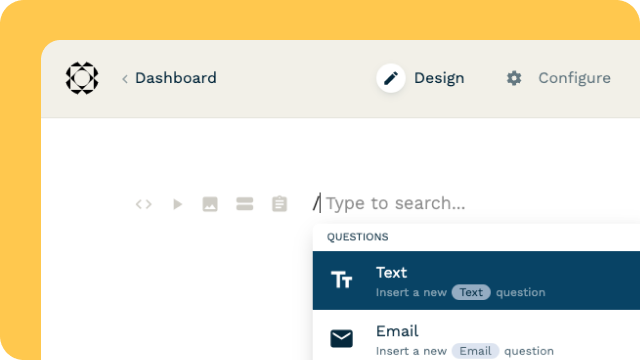
2. Change the name, cover image and text within your course registration form.
You can easily change or remove the heading of this form by merely clicking or highlighting a particular area. Paperform's free-text interface makes it work very similarly to a Word Doc. You can click anywhere, edit anything, and freely rearrange the elements on the page.
This method is the same for any text throughout the form, as well as any question text. You also can align your text as well as change the particular text font or size. Highlight the correlating text, and a tab will appear with these options.
We have included a cover image in this template that sits below the heading. You can easily replace the current image by clicking on the image. A bar will appear above with clickable icons. Click the 'picture' icon to replace the image with one of your own. If you wish to delete this particular image, simply click the 'X' icon.

3. How to change the appearance of your form.
Now that we have looked at how to change your form's basics, we now need to personalize the form.
You have the ability to change the appearance of your form through the 'Theme' settings (colored teardrop icon), which is located in the top-right corner of your form-builder. From here, you can edit your form's theme layout, text appearance, and overall appearance.
You also have the option to edit the translation settings of your form. The look and feel of your buttons as well as question fields can be edited from the 'UI Elements' tab. From here you can also manage such things as the background color and even upload a background image.

4. Include a video to build trust and better advertise your online course.
Using a video is an excellent method to ensure a great first impression with a potential customer.
Our template has included a video that you can easily replace by removing our current YouTube URL. You can add video links from Wistia, Vimeo, and YouTube to your forms and landing pages.
5. Control and manage a booking system.
At Paperform, we have now made it easier than ever to create and control your very own appointment booking system through the Appointments question type. You can even connect your Google Calendar to stop double-bookings and better manage your appointments.

You can configure your general availability manually, add 'block-out dates' for days you are not available as well as connect the form to your Google Calendar. This integration will trigger new events and give you the freedom to better manage your bookings in one place.
Connecting your Calendar is simple:
- Select the configure icon to the right of your Appointments question.
- Click + Calendar to connect a new Google calendar.
- Click + Account and follow the prompts to connect.
- Select the Calendar you want to use for your appointments from the drop-down menu.
- And that's it!
6. Start receiving payments for your online course.
We have included two options to collect payments within this template.
The first is simply a product for a yearly subscription to the course, while the other is an occurring monthly subscription plan.
You can connect a subscription plan to your form either through Braintree or Stripe. If you haven't connected either of those accounts to Paperform, you'll need to do that first. You can connect a payment account by adding them under Account Services.
It is easy to set up a subscription plan. For Stripe, check out this article while you can see Braintree's process here.
- To then connect the newly made subscription plan to your form, head into the subscription question type configuration, and you will see available plans. Click on your chosen plan, and it will now be connected.

7. Put through a test submission.
Now it is time to see how your form looks. Click the 'view' (eye icon) button to go to the live view of your form. Fill in the form and submit it. You can access submissions via the dashboard.

8. Set up an automatic response email.
After a course student has submitted their payment and joined your list, you will want to send them a confirmation email containing the course's details and a receipt of payment.
To set up a confirmation email that will automatically send once a customer has submitted their form, go into After Submission > Emails.
Then click 'add email,' follow the prompts, and create your automatic email. You can pipe answers from your submitter into this section, such as their email or name.
Find out more about answer piping.

9. Final checklist.
Before making your form live you’ll want to do the following:
- Edit the title, description, cover image and custom URL under Configure>Details.
- Customize the submission page message under After Submission > Success Pages & Redirect.
You're done! You can get the URL or embed code of your course signup form under the Share menu in the form editor.
Now you can start promoting your course. Good luck!