Online Tutoring Software
Easily manage your tutoring business with Paperform's Tutoring App. Schedule classes, manage students, collect payments & organize video sessions in a matter of minutes.

1. Use the template
Go to the student registration form template page and click "use this template". If you don't have a Paperform account, you will need to sign up for a free trial first (no CC required).
You can also start a form from scratch if you would like, but using templates is a great way to get off the ground and familiarize yourself with Paperform.
2. Change the name, images, and text in your form.
You can easily edit the heading of the form by simply clicking on the text. This is the same for any body of text throughout the form. Likewise, to edit the text of any of the questions that currently appear in your form, simply click on the correlating text and delete it.
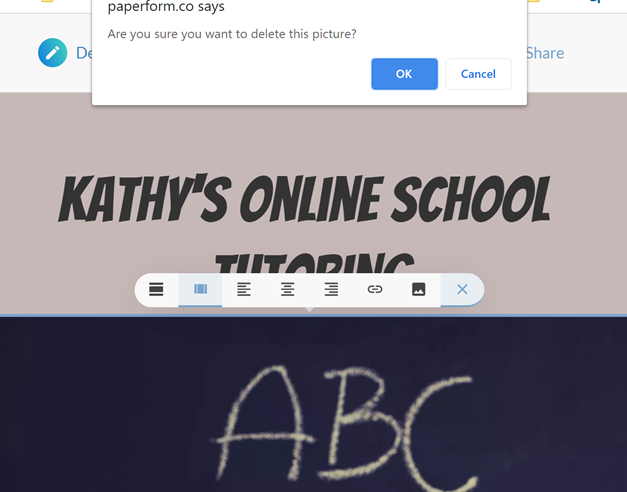
This template has a cover image that sits below the heading name "Kathy's Online Tutoring". You can easily replace it by clicking the image and choosing the picture icon within the toolbar that appears above.
You can also delete the image entirely by clicking the ‘X’ icon that appears in the very same toolbar next to the picture icon. A pop-up prompt will appear, asking if you want to delete the image.
Find out more about adding images to your forms.
3. Change the look and feel of your form.
So you have now changed the basics of your form to suit your business' or individual needs. Let's look at changing the personality of your form. In the top right corner of your template editing dashboard is the 'Theme' icon.

Once you click on this you will enter your theme settings. From here you can edit the form to feel more personal.
Simple changes such as the font and color of the text can be done from here, while you can edit the appearance of your text in more detail from the 'Typography' tab.
The look and feel of your buttons and questions can be edited from the 'UI Elements' tab, while you can change the background color and even upload a background image from this tab as well.
4. Organize what subjects you offer as tutorials and change the length of your sessions.
This template provides three standard subjects available for tutoring sessions (Maths, English, and Science). You can control what subjects you want to provide in the 'Subjects you want tutored?' question. Simply click on the configuration icon to open up the question settings.
Scroll down and you can easily change those subject choices, even adding an image to correlate with the subject.

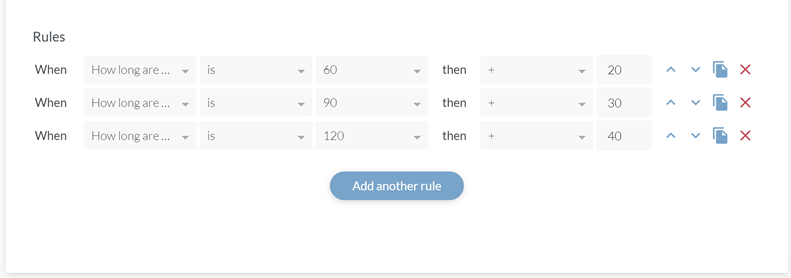
'Now that you have organized the subjects you offer in your tutorial sessions, let's change how long you want your sessions to run for.
The template currently has three options for session run times (60 minutes, 90 minutes, and 120 minutes) that are also set into a multiple-choice question format.
Like you did with the 'Subjects you want tutored?' question, click on the configuration icon to open up the 'Choose your session length' question settings and edit the options the same way.
Please be careful with the session length. In order for the total price to properly correlate with which session length is chosen, you must also edit the custom pricing rules (pictured below).
To enter the 'Custom Pricing Rules' simply click on 'Configure' at the top of your editing dashboard > 'Payments' tab, then scroll to the bottom where you will see 'Custom Pricing Rules'.
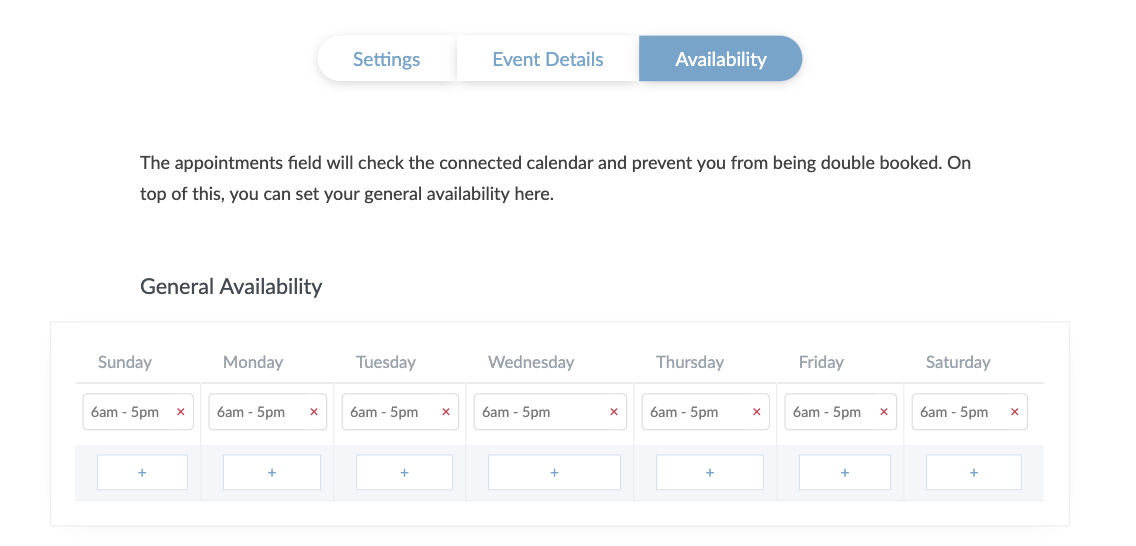
4. Tailor a personal booking and appointment system to schedule when to meet your students.
At Paperform we have now made it easier than ever to create and control your own Appointment booking system through the Appointments question type.
To ensure your tutorial sessions are run efficiently you can also [connect a calendar](https://paperform.co/help/articles/how-can-i-accept-appointments-on-my-form/) that will keep track of all your sessions and stop any double-booking problems you may have faced in the past.
You can configure your general availability manually, as well as connect the form to your Google Calendar to ensure students don't double-book you. This will also automatically add new bookings to your calendar. Connecting your calendar is simple:
- Select the configure icon to the right of your Appointments question.
- Click + Calendar to connect a new Google calendar.
- Click + Account and follow the prompts to connect.
- Select the calendar you want to use for your appointments from the drop-down menu.
- And that’s it!
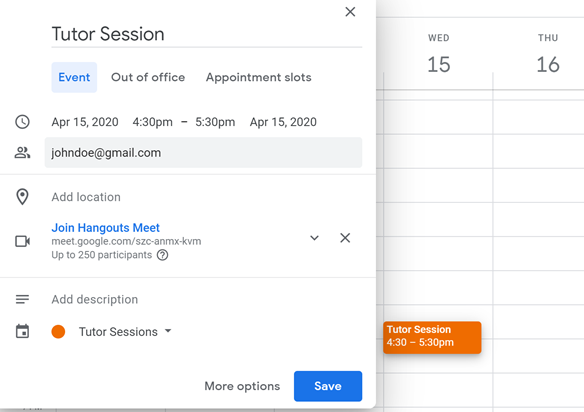
5. Organize your session meets (online video call).
Now that you have customized your appointment availability and are on your way to helping students, let’s look at how simply you can keep your booked customers informed as to what's to come, and remind them of their booking.
When an appointment is made, it will appear on your calendar. Google Calendar bookings will have a Hangout Video Call link automatically included which you might like to use for your meeting. Google will automatically send out reminders for this meeting by email as well.
6. Put through a test submission
Click the 'view" button to go to the live form. Fill in the form and submit it. You can access submissions via the dashboard.

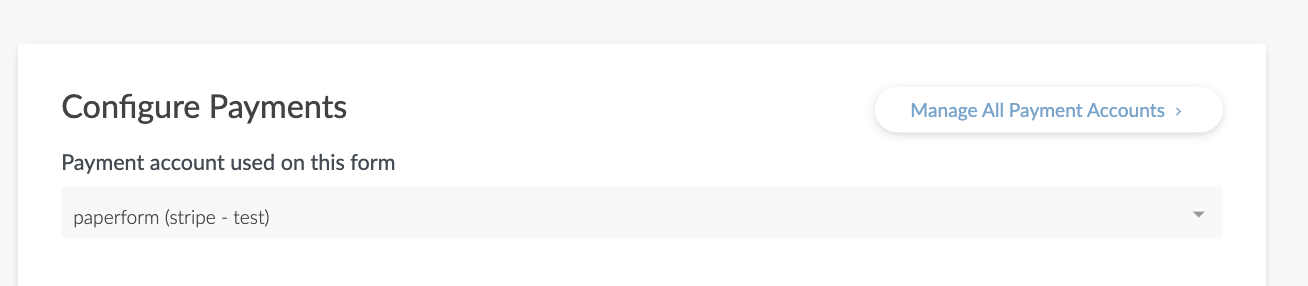
7. Connect a payment account
Before you can start taking payments, you'll need to [select a payment source](https://paperform.co/help/articles/can-i-only-pay-for-paperform-using-credit-or-debit-card-or-can-i-use-another-method/) under Configure > Payments. If you don't have any payment source connected yet, you can set one up by clicking "Manage Payment Accounts" and following the prompts on one of the support payment providers (Stripe, [PayPal Business](https://paperform.co/blog/paypal-alternatives/), Braintree or Square).
8. Set up automatic after submission email.
After a customer has submitted their booking and made their payment you will want to send them a confirmation email containing details of their session and payment.
To set up a confirmation email that will automatically send once a customer has submitted their form, simply go into After Submission > Emails. Then click 'Add email' follow the prompts and create your automatic email.

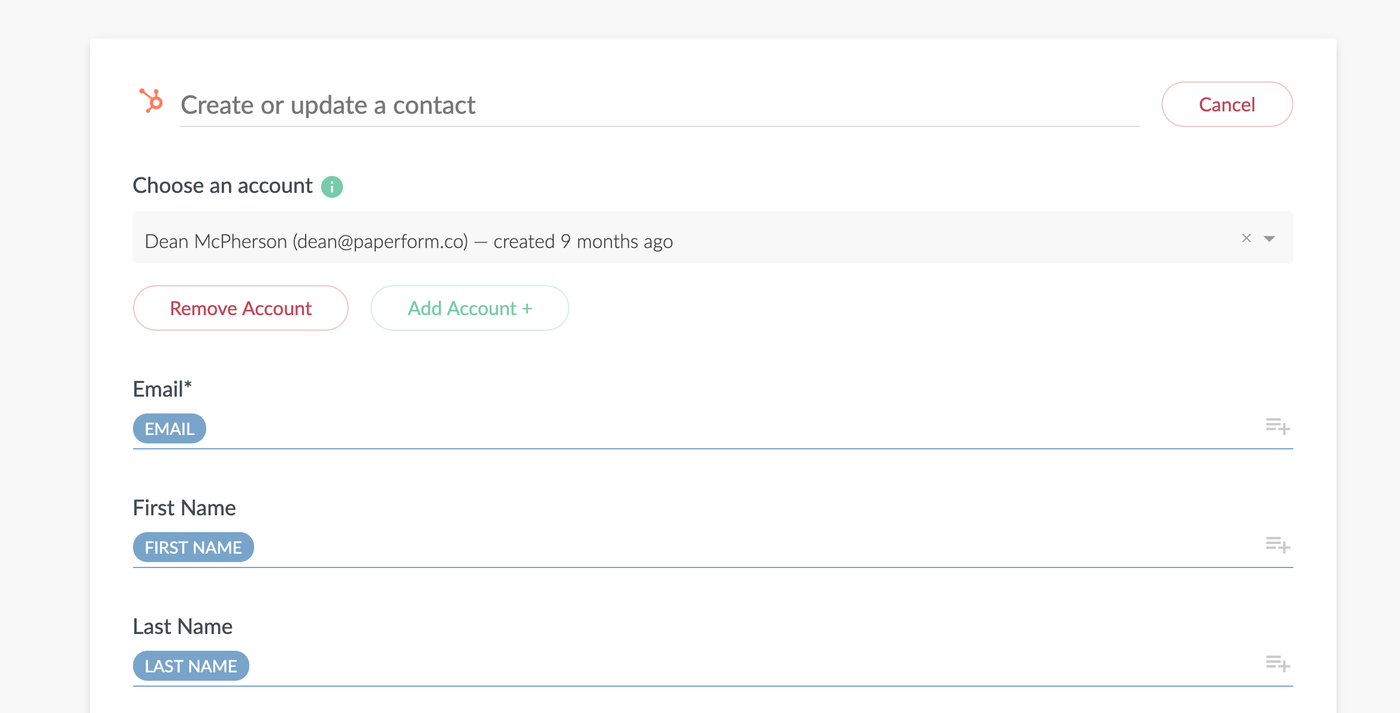
9. Connect to HubSpot CRM to keep your students' details in one place.
Keep all your students' details in one easy to read location. Our [integration with HubSpot](https://paperform.co/integrations/hubspot/), a leader in Customer Relationship Management, makes it easier to connect with your students and keep that relationship blossoming.
You can take control of your emails, reporting, goals, and more. To connect simply go into After Submission > Integrations & Webhooks, Click on the HubSpot icon and follow the prompts.
10. Final checklist.
Before making your form live and beginning to accept bookings from excited students, you’ll want to do the following:
- Edit the title, description, cover image, and custom URL under Configure>Details.
- Customize the submission page message under After Submission > Success Pages & Redirect.
You're done! You can get the URL or embed code of the online order form under the Share menu in the form editor. Happy form making!