Using the formatting menu, you can set the the image's width, shape, and alignment. With content width selected, you can also click and drag the bottom-right corner of the image for a custom size. To access the menu, click on the image you wish to adjust, and the formatting menu will appear.
Using the formatting menu

Select the image on the form, and you'll see a range of formatting options above the image. Select the first option (full page width), and the image will take up the full width of the page.

The second option in the menu can also be used to make the image the same width as the rest of the form content (content width).

Dragging to resize
If you want to manually make the image smaller or larger, first ensure the image is set to content width. Then, you can grab the corner handle on the bottom-right of the image, and drag it to resize.

Using the image editor
If you've used the built-in image editor, you may have noticed a Resize option. This can be used to change the pixel size of the original image, but it does not control how this image is displayed on your form page.
To change how the image appears in your layout, stick to the methods outlined above. The Resize tool in the image editor is better used for shrinking unnecessarily large image files down to a more appropriate size, for the sake optimizing page load times.
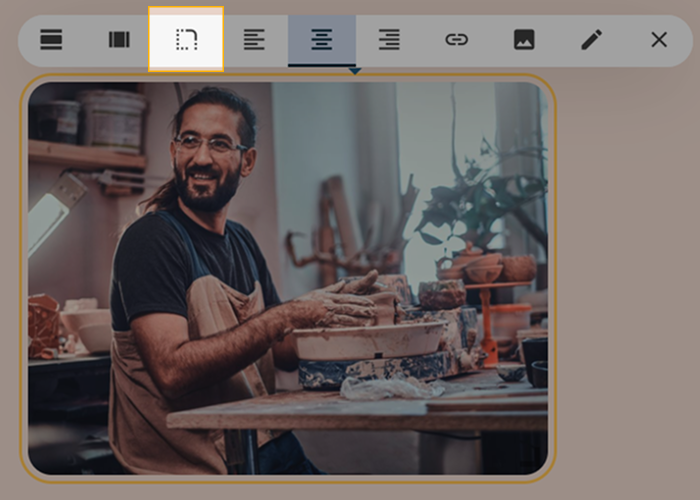
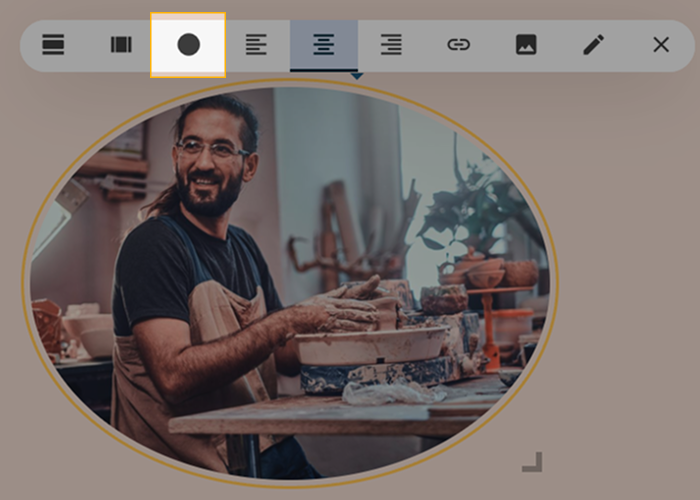
Image Shape
Select an image shape. There are three options:
Square: Displays the image in its original uploaded form.
Note: Any transparent areas or rounded edges will be preserved.

Rounded Corners: Softens the edge of your image by rounding the corners.
Circle: Rounds the edges of the image to create a circle or oval shape.
Alignment
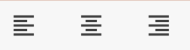
Position your image to the left, middle, or right of your form content.
Hyperlink

Converts the image to a clickable link that directs users to another website.
New Image

Brings up the image selection window to replace the current image with another one.
Image Editor

Allows you to tailor an image to your preference. Check out our How to Edit Images article for more information about this option.
Remove Image

Removes the image from your form.